Remove objects from photos with AI
Brush over cables, cars, bins, clutter or signs, and the AI object remover fills in what was behind them, as if they were never in the shot.
- Free daily credits
- Nothing to install
Objects removed from real scenes
Drag the divider to see the before and after.
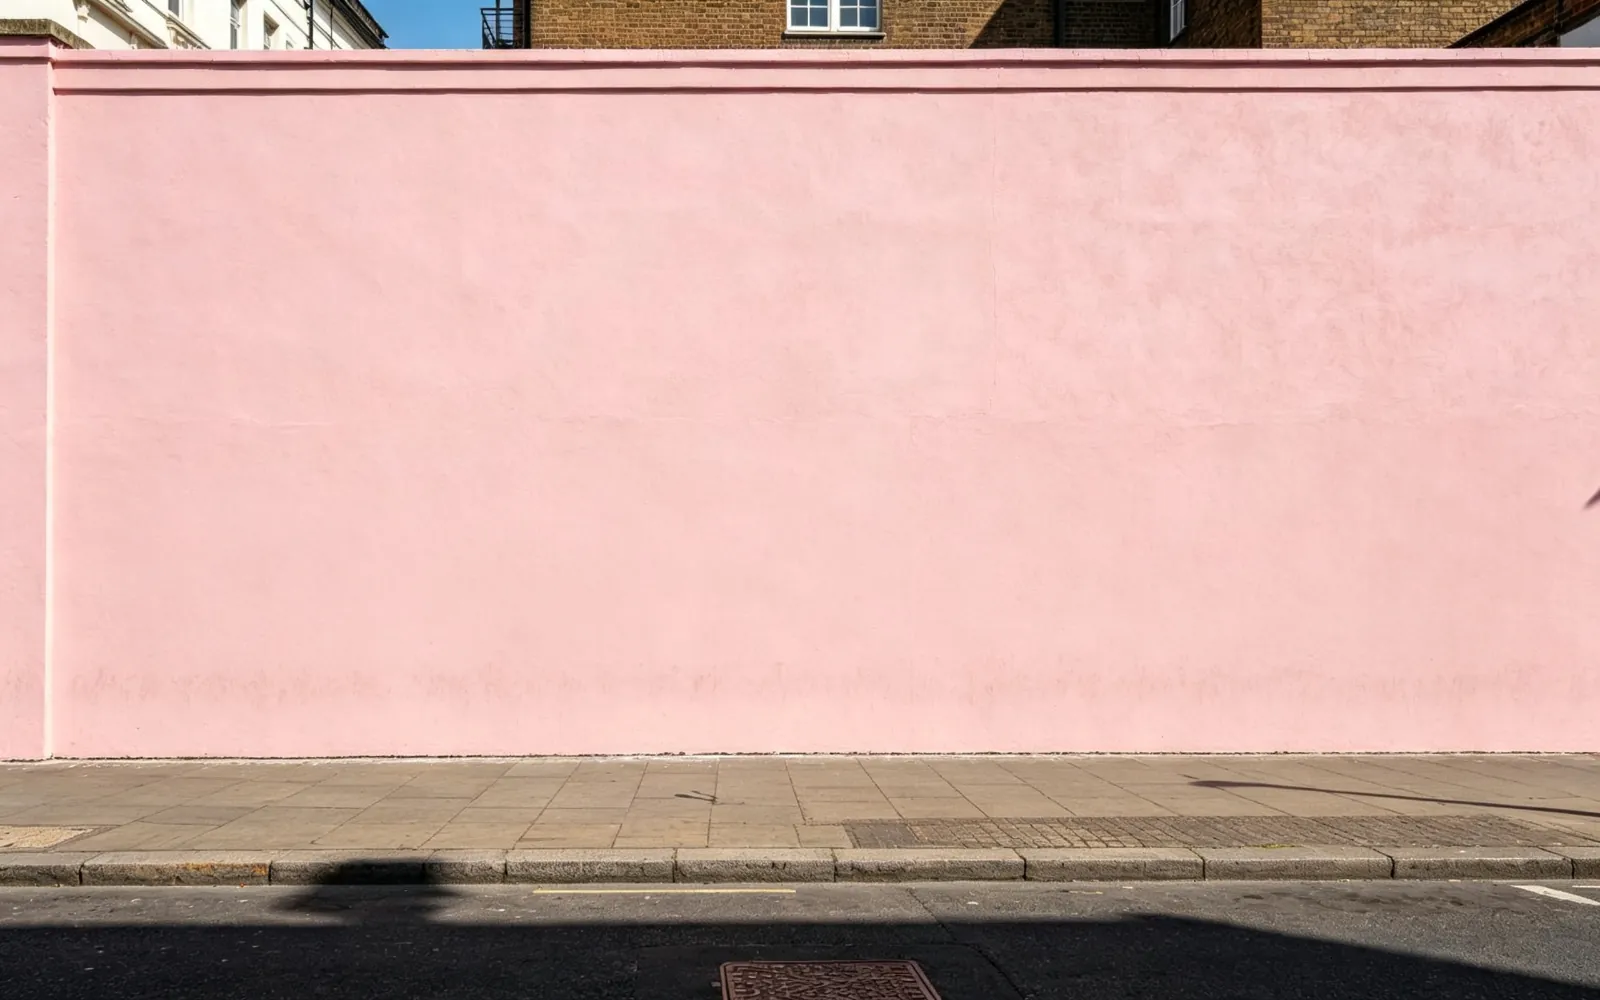
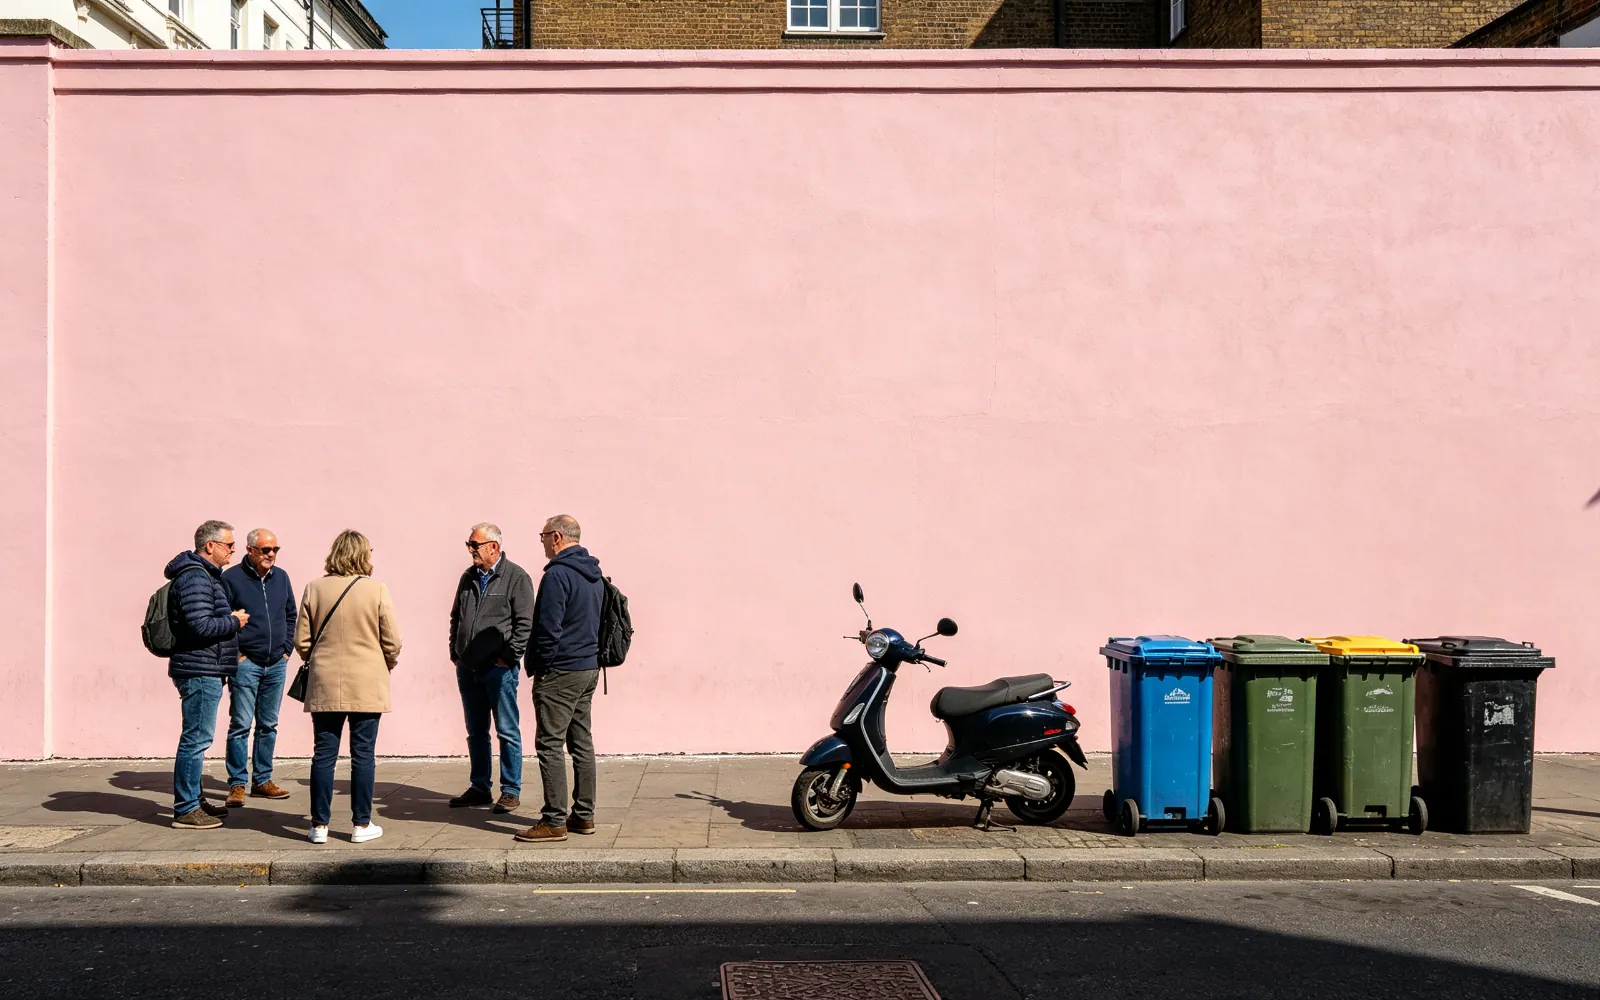
Clear scooters and bins off a street scene
Passers-by, a scooter and bins wiped off a pink wall
Try this

Remove power lines from a sky photo
Power lines and a pole removed from a sunset sky
Try this
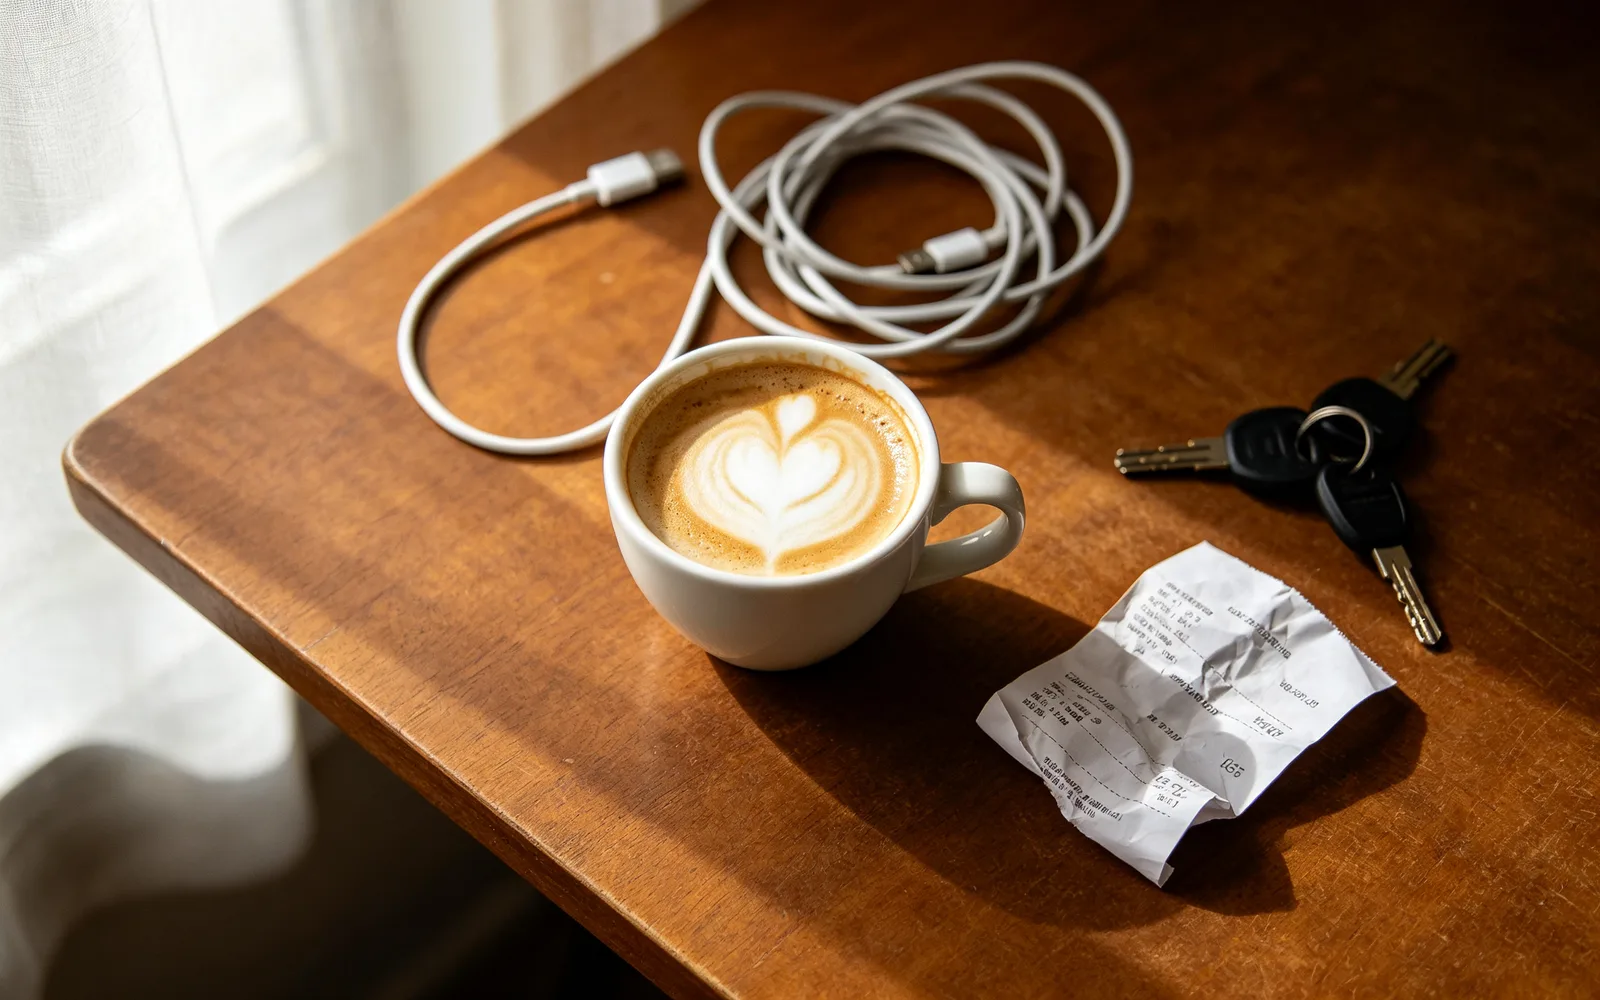
Clean up clutter on a table
Cables, receipts and keys cleared from a café table
Try this
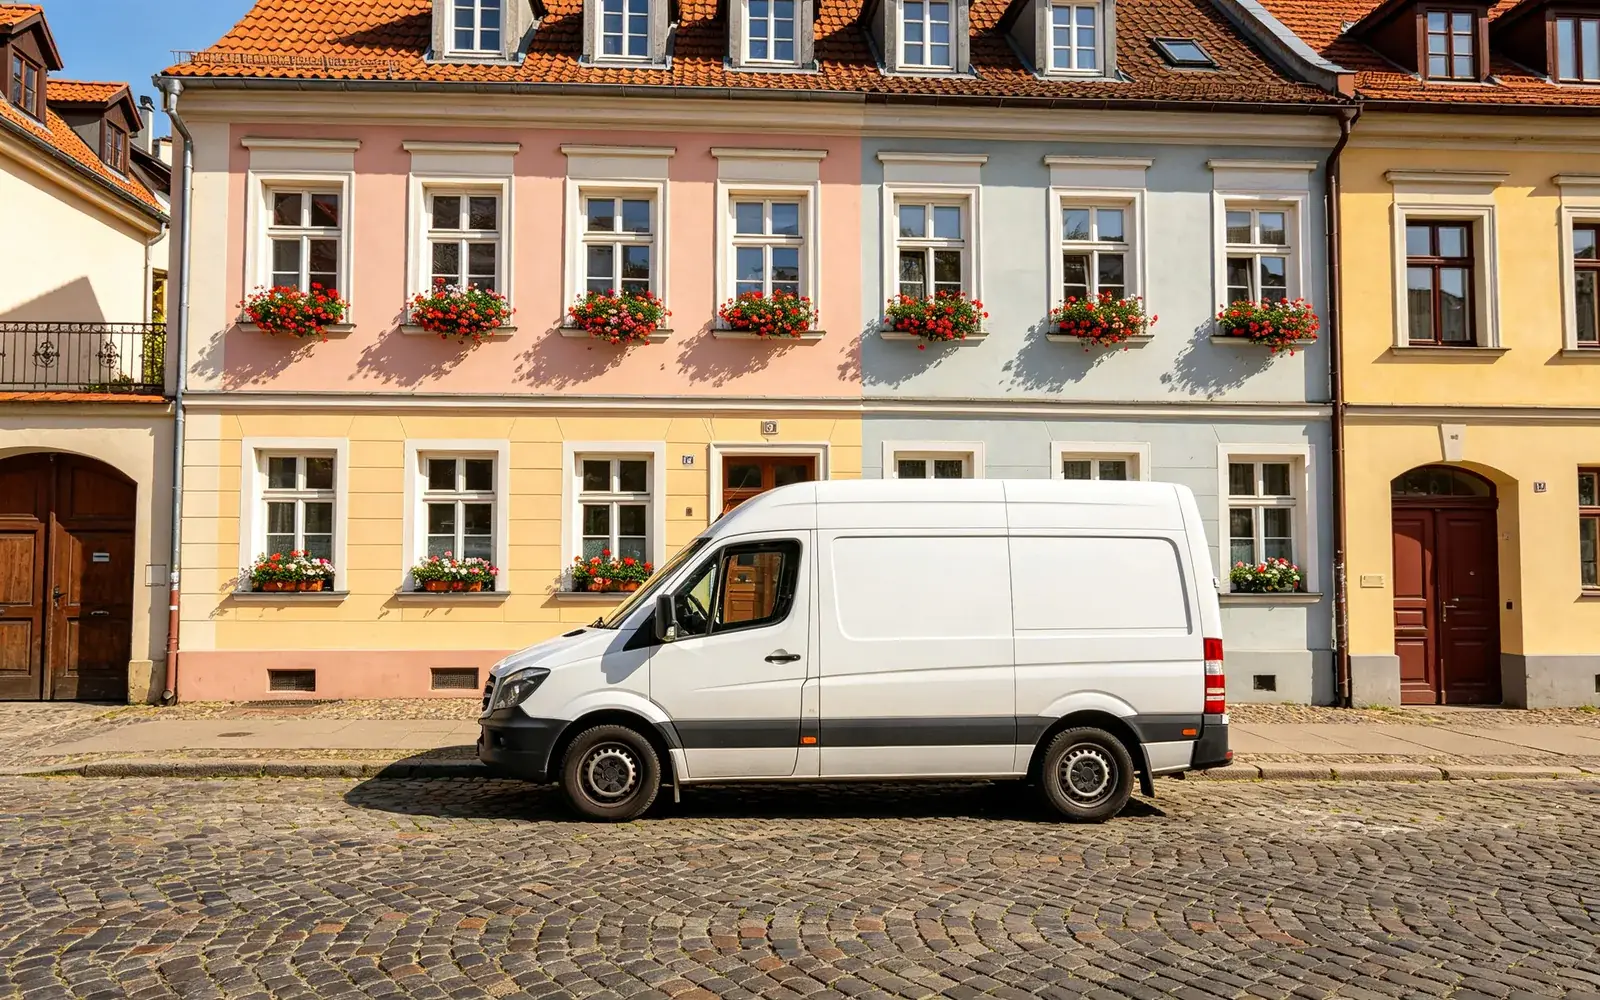
Remove a car from a street photo
A parked van removed from an old European street
Try thisHow to remove an object from a photo
- 1
Upload the photo
Choose an image or drop it onto the page. JPG, PNG, WebP, GIF, AVIF and TIFF files up to 5 MB are accepted.
- 2
Brush over the object
Paint over everything that should go. Change the brush size, zoom in for small parts, and use the Erase marks tool or Undo when a stroke goes too far.
- 3
Process the photo
Click Process. There is nothing to type: the object remover only takes things out and fills the marked area with what is likely behind it.
- 4
Compare and download
Drag the divider to check the before and after, then download the result. Each run is also kept in Recent runs.
Which objects remove cleanly
The result depends more on what is behind the object than on the object itself. The model has to paint that hidden area from the pixels around it.
- Works well: cables, power lines, signs, bins, litter and parked cars in front of sky, walls, grass, sand or water.
- Works well: small items on a table, floor or shelf with a simple surface.
- Harder: objects that cover a large part of the photo, because most of the scene behind them has to be invented.
- Harder: objects in front of faces, hands or text, and patterns with strong perspective, such as tiled floors or brick walls.
Brushing tips for a clean fill
Cover a thin margin around the object instead of tracing its edge. The model needs a little room to blend the new area into the old one.
Include the object's shadow and any reflection in glass or water in the same stroke. A shadow left behind shows up as a dark shape with nothing to cast it. You can mark several objects in one run.
If a faint outline remains, download the result, upload it again and brush over what is left. A second pass on a small area usually clears it.
Remove an object or replace it?
The object remover only takes things out. To put something new in the marked area, such as a different chair or a vase of flowers, use AI inpainting, where you write one line about what belongs there.
Taking people out of a photo and erasing text follow the same steps, but each has its own habits, such as hair and shadows for people or thin strokes for lettering. Both have their own guides on this site.
Removing objects on a phone
The editor runs in the browser on a computer, tablet or phone, so there is nothing to install. On a touch screen the brush follows your finger; switch to the Pan tool to move around a zoomed photo.
HEIC files are not accepted. If your phone saves photos as HEIC, export them as JPG first.