AI inpainting and generative fill for your photos
Brush the part of a photo you want changed and describe what should be there instead. Only the brushed patch is repainted, matching the light and perspective around it.
- Free daily credits
- Nothing to install
Inpainting examples with the prompts used
Drag the divider to see the before and after.
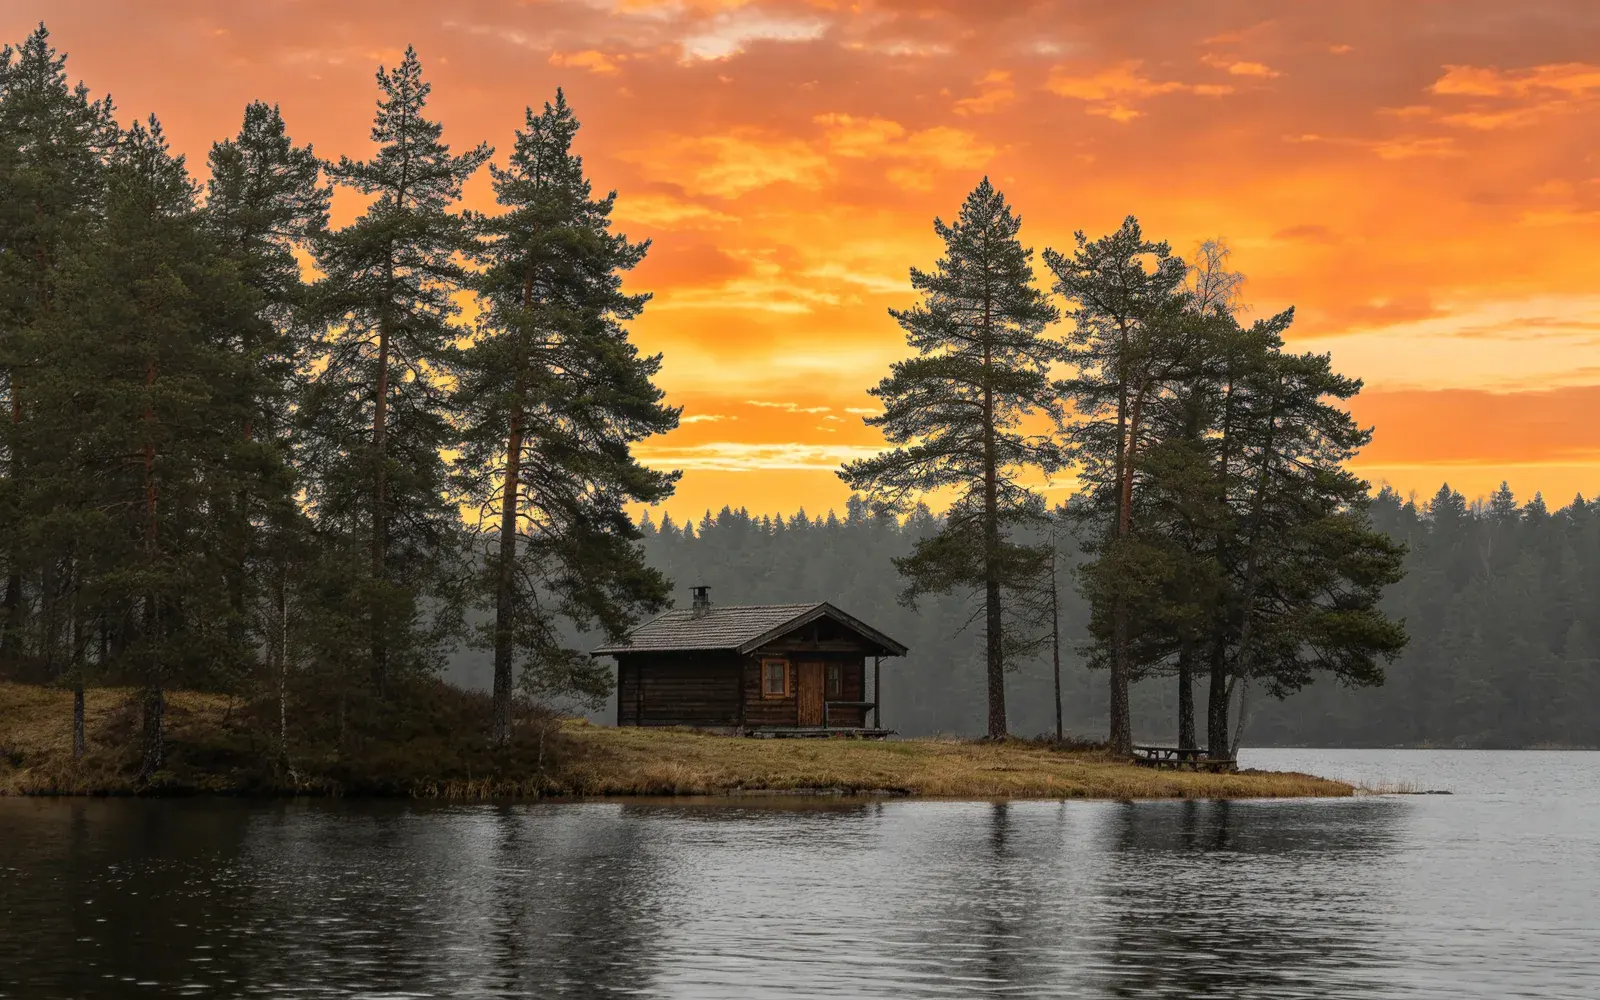
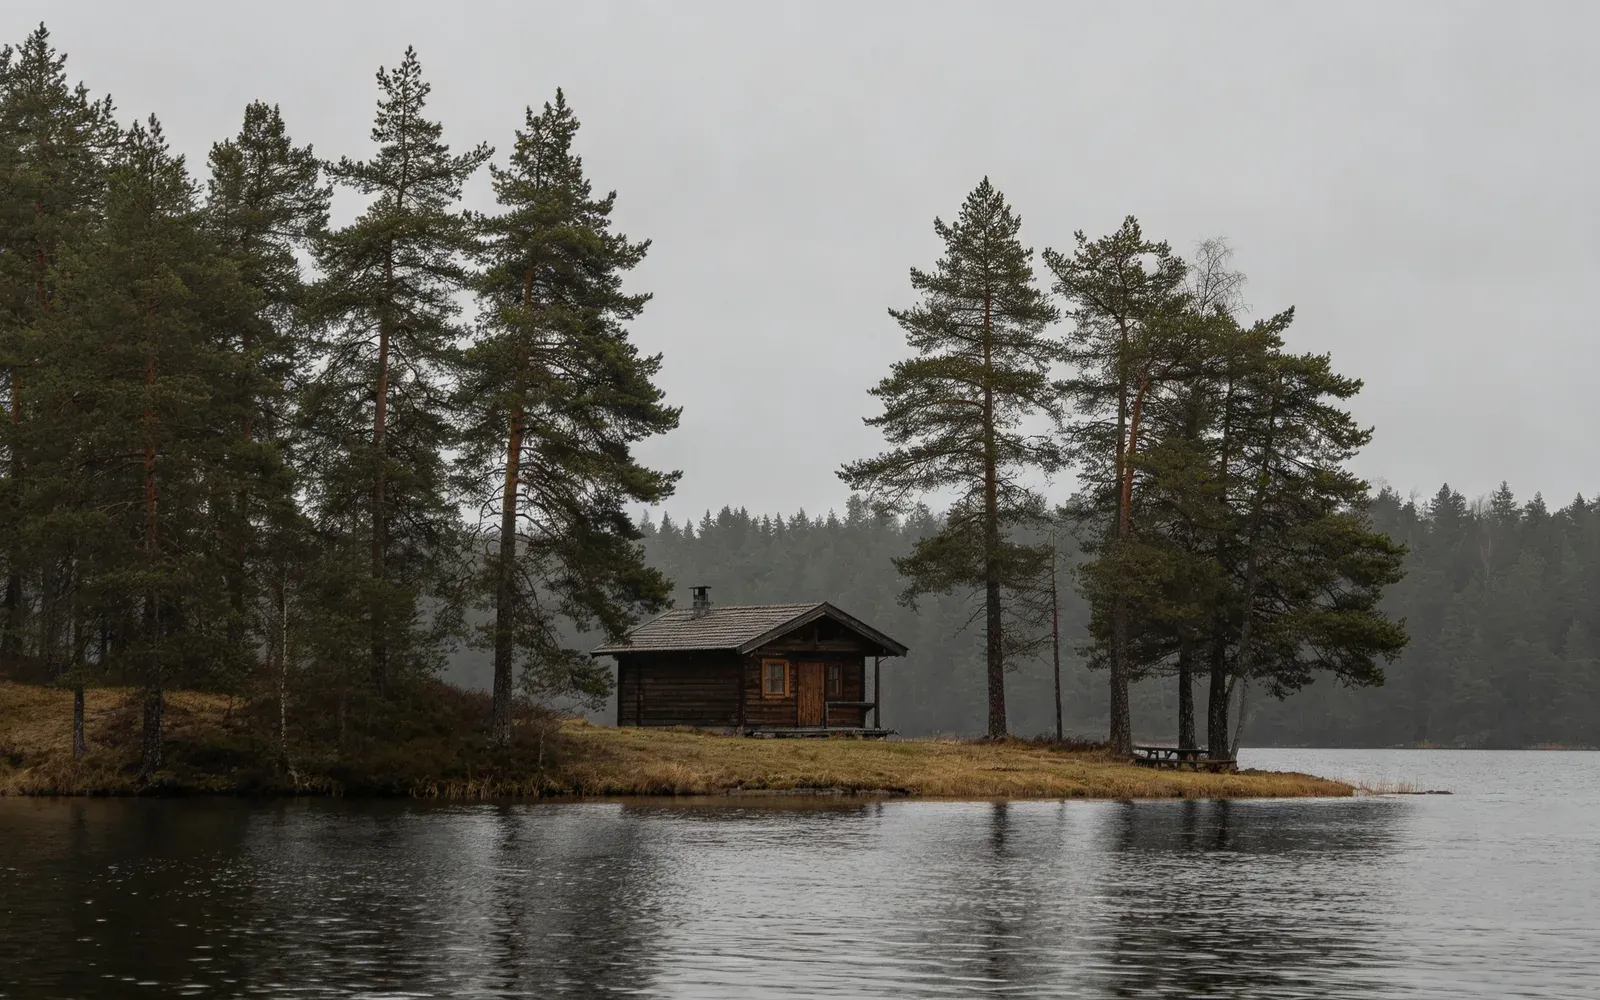
Replace a dull sky
A flat grey sky over a lakeside cabin repainted as a sunset
Prompt a burning orange sunset sky with scattered clouds
Try this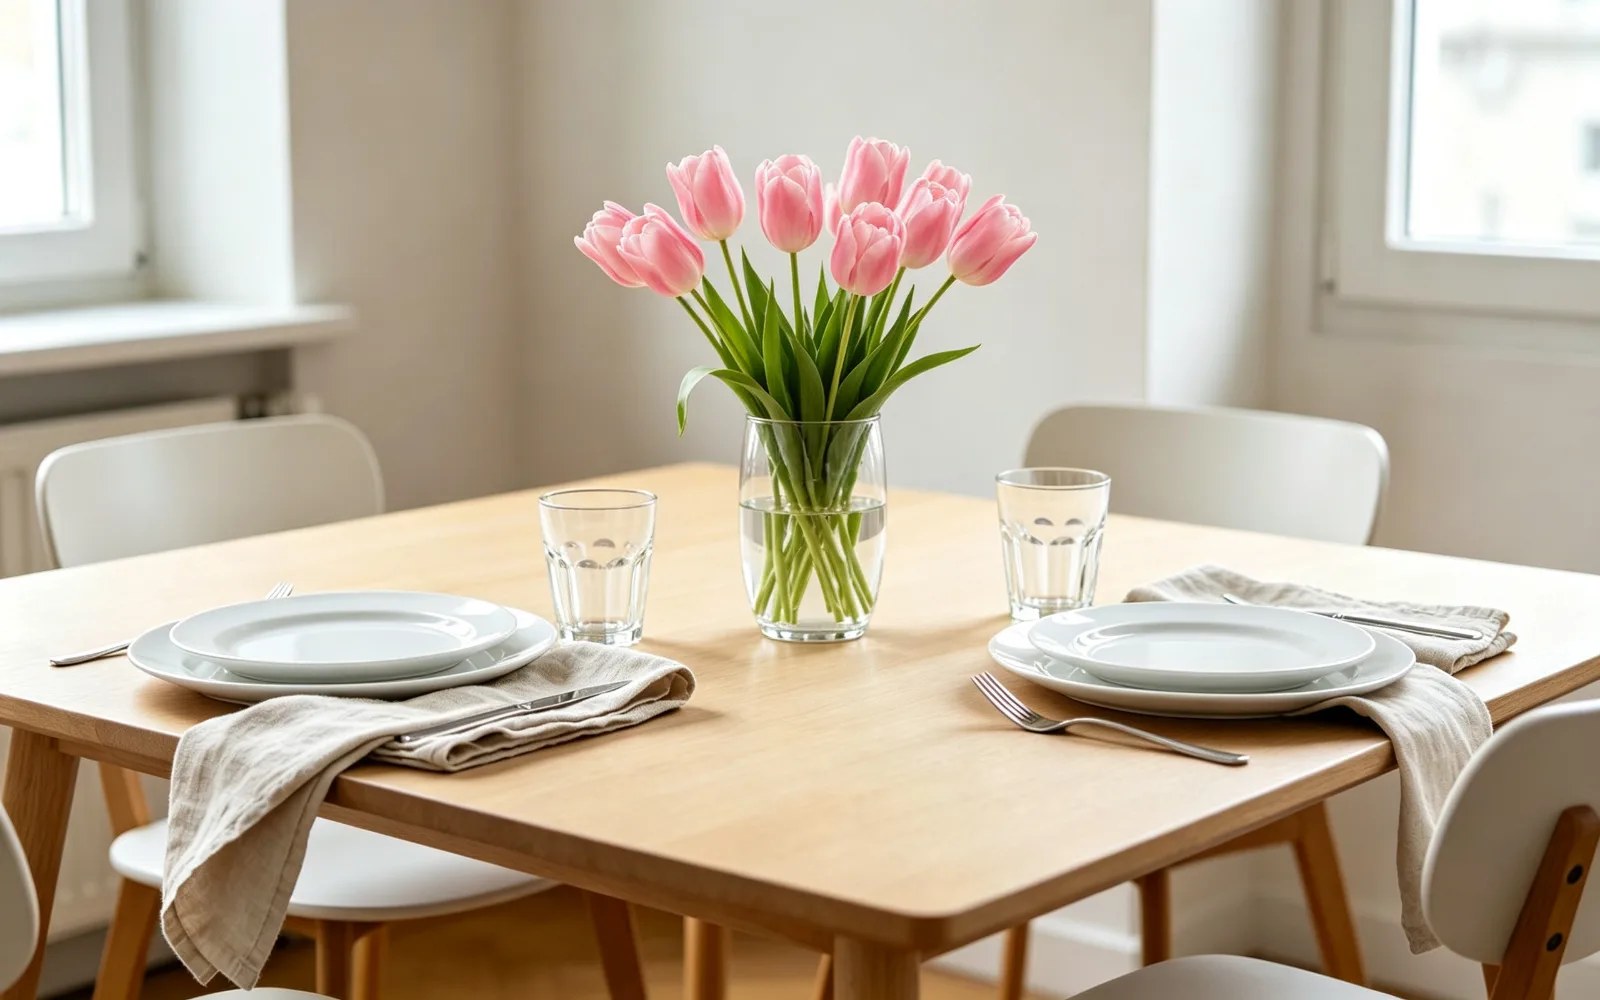
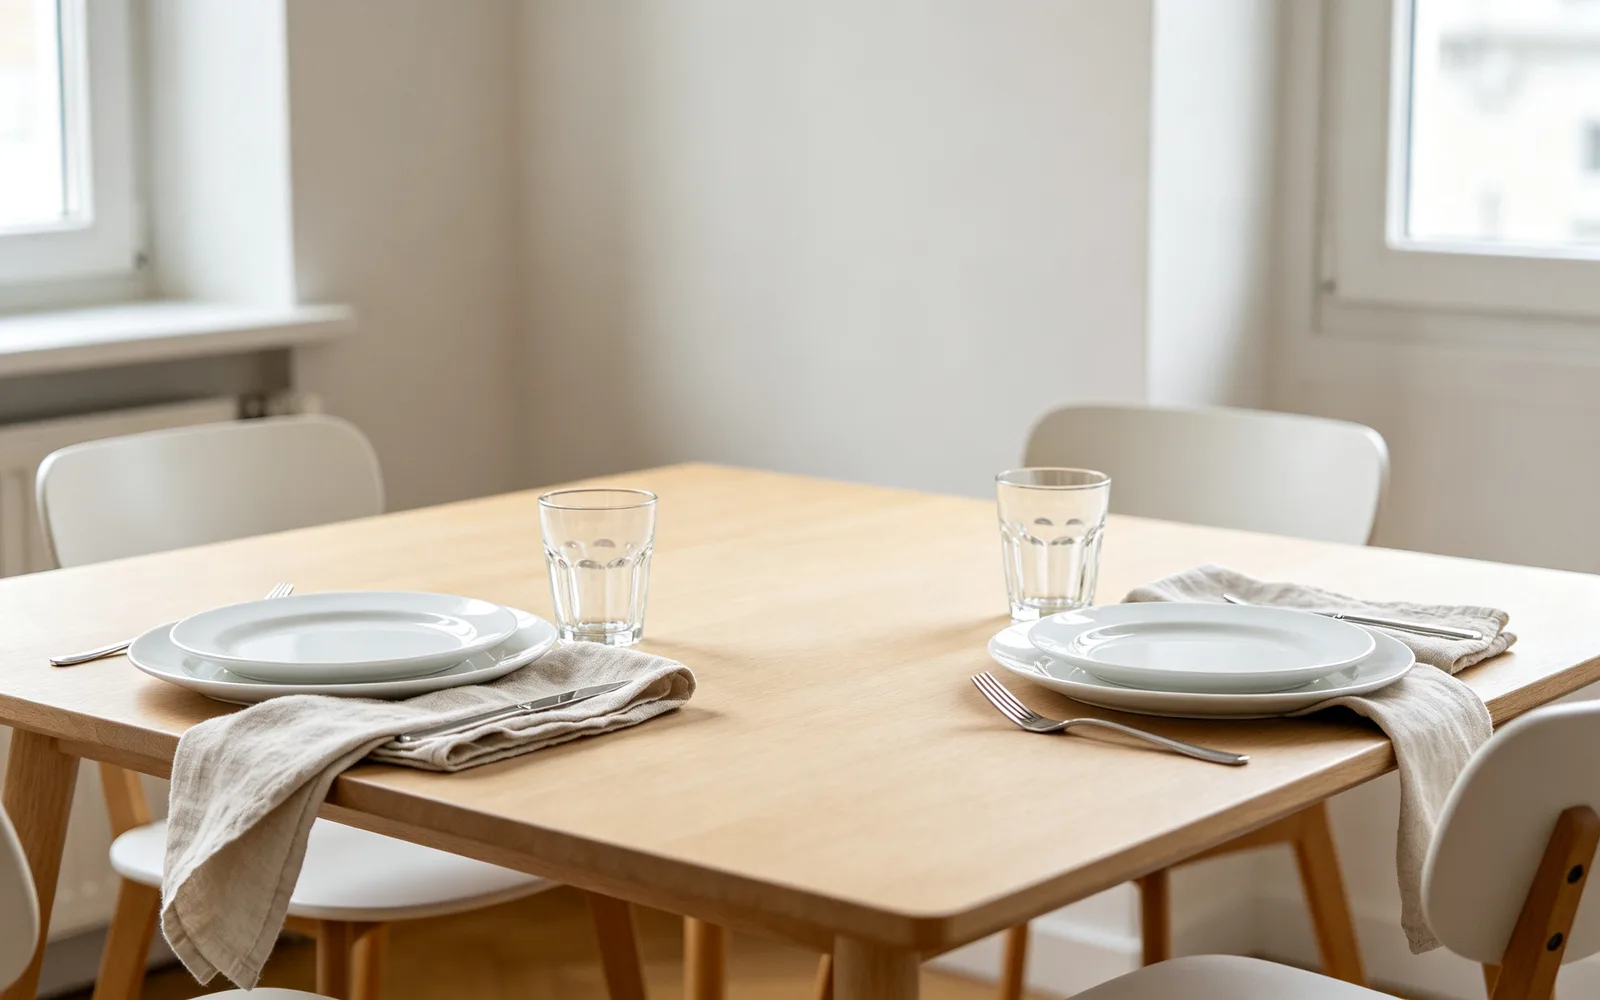
Add an object to an empty space
A vase of tulips added to the empty half of a table
Prompt a glass vase of pink tulips
Try this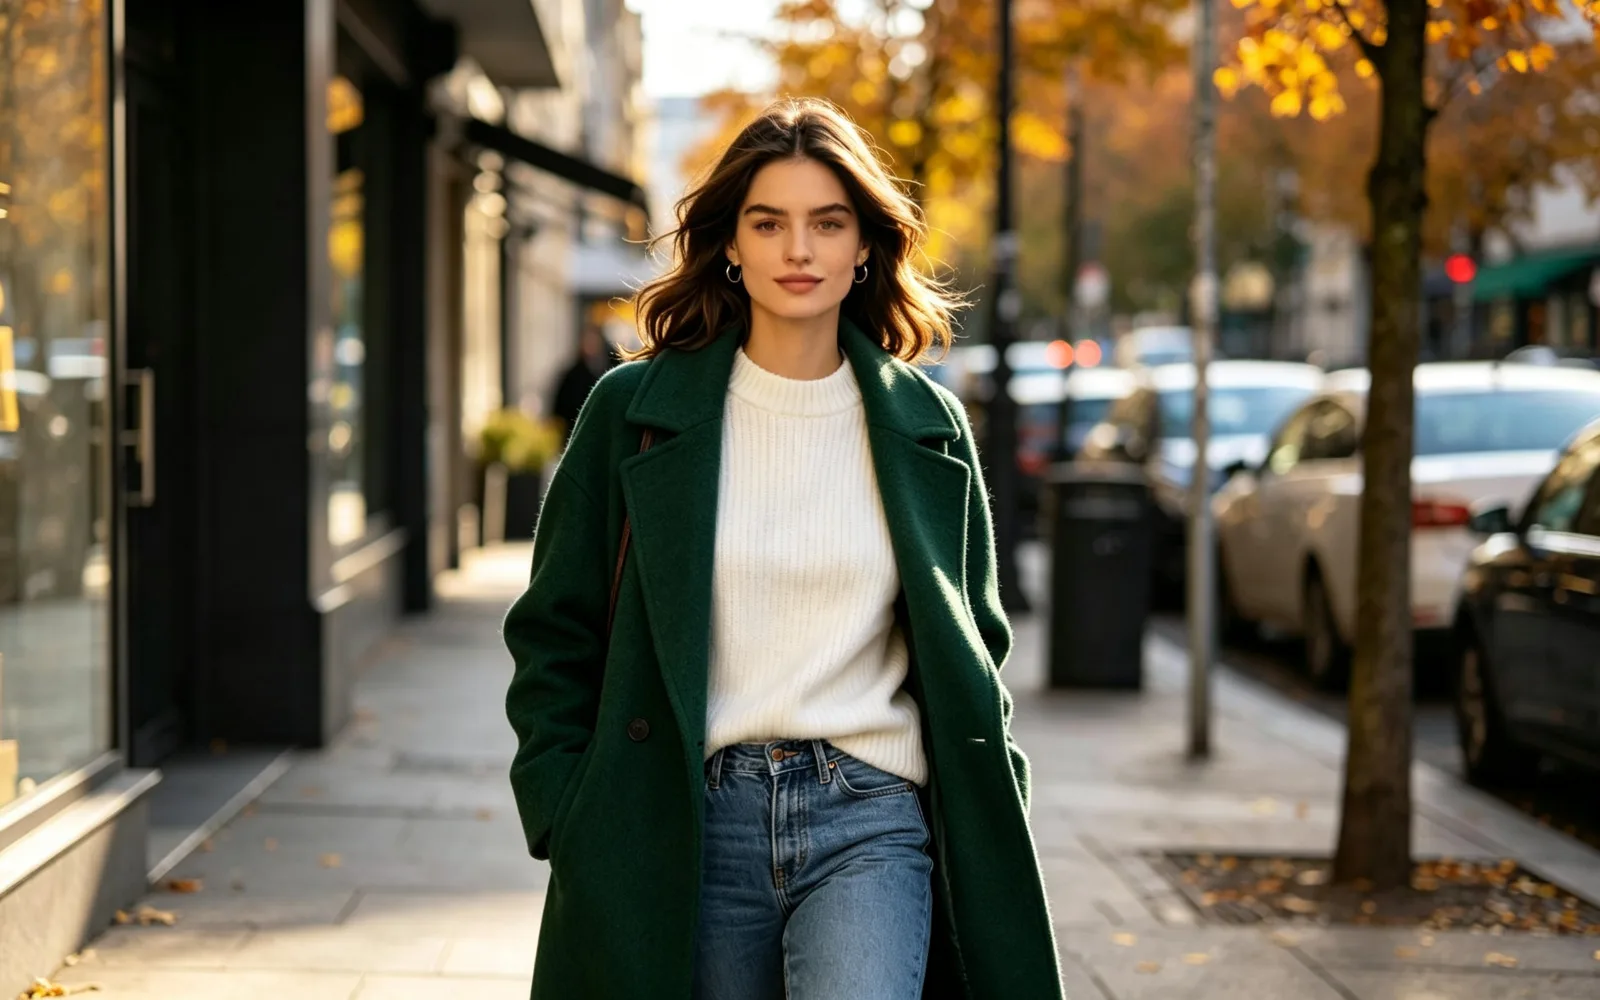
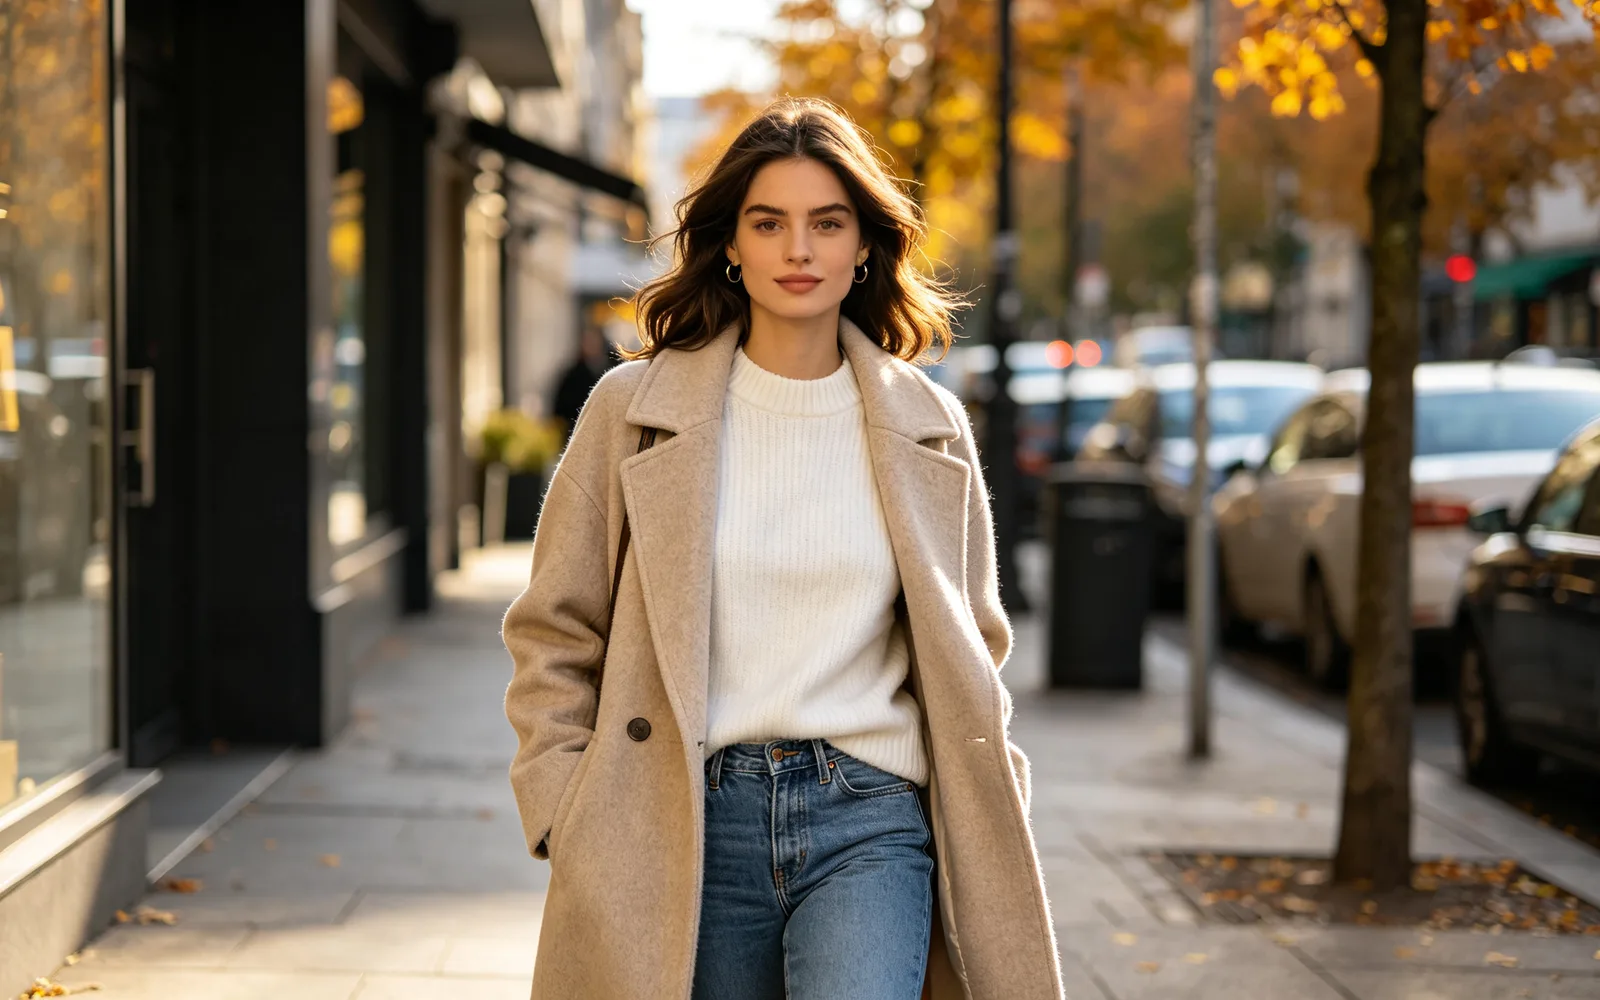
Change the color of clothing
A beige coat changed to dark green wool
Prompt a dark green wool coat
Try this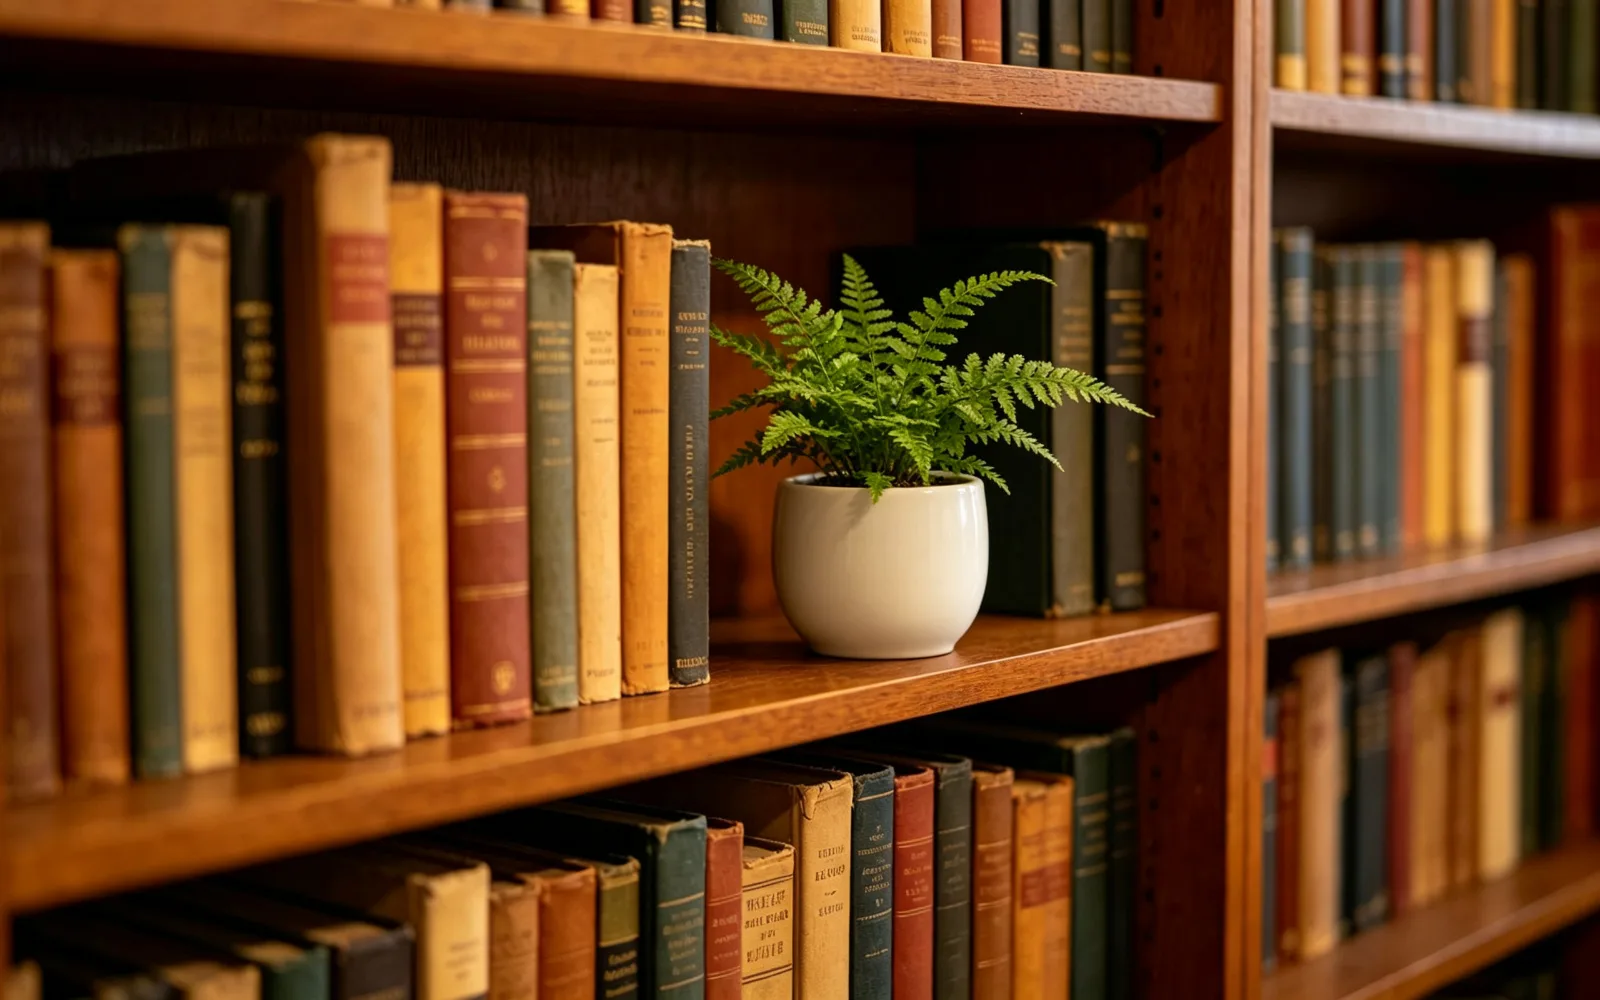
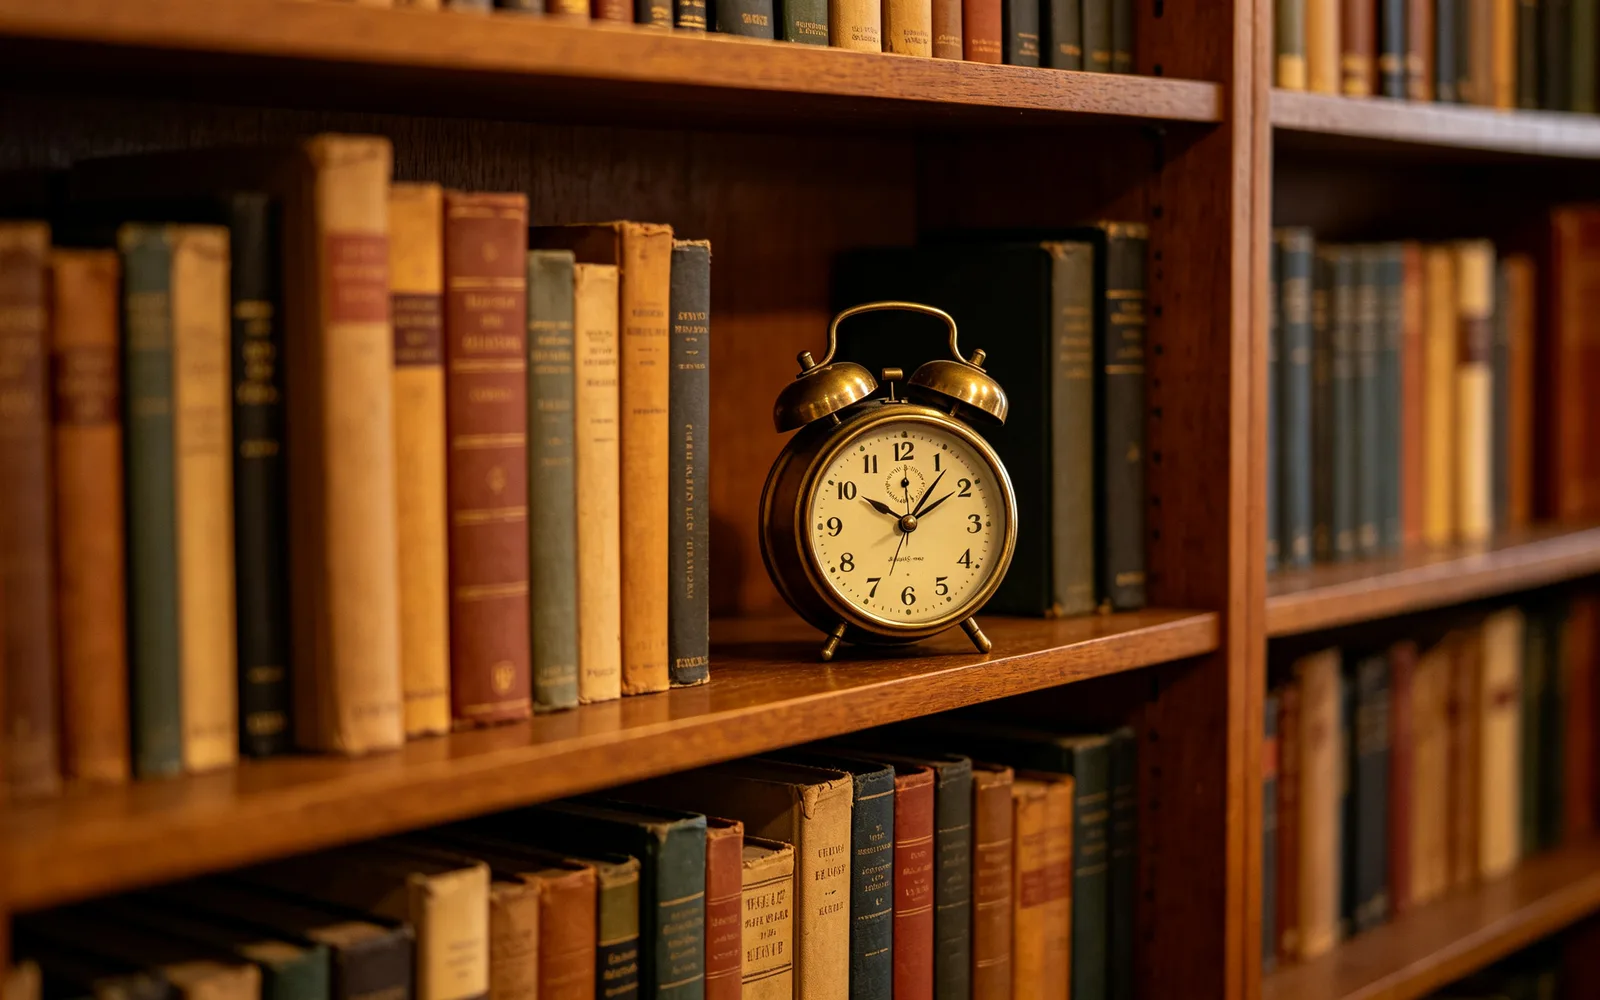
Swap an object on a shelf
An old alarm clock on a bookshelf swapped for a potted fern
Prompt a small fern in a white ceramic pot
Try thisHow to replace part of a photo with AI inpainting
- 1
Upload the photo
Choose an image or drop it onto the page. Files up to 5 MB are accepted.
- 2
Brush the area to change
Paint over the part you want replaced. The brush size, zoom, Erase marks tool and Undo work the same way as in the object remover.
- 3
Say what belongs there
A text box appears on the photo once you start brushing. Write one line of up to 120 characters, such as "a red knitted sweater".
- 4
Process and compare
Click Process, drag the divider to compare the before and after, and download the result.
What is AI inpainting?
Inpainting means repainting a selected part of an image while the rest stays as it was. You mark the area with a brush and describe what should appear there. The model draws the new content to match the light, color and perspective of the pixels around it.
It suits edits that are too specific for a filter: changing the color of a jacket, swapping an object on a shelf, replacing a dull sky or filling in a damaged patch.
AI inpainting and generative fill
Generative Fill is the name Adobe uses in Photoshop for the same kind of edit: select an area, type what should appear, and the software paints it in. Here the selection is your brush mark and the prompt is the one line you write.
There are no layers or selection tools to learn. The result is one finished image that you compare with the original and download.
Writing a good inpainting prompt
Short, concrete instructions work best. Name the object first, then add its color, material or size. Describe only what goes inside the mark, not the whole photo. More examples:
- Change clothing: "a navy linen shirt with rolled sleeves"
- Fill an empty space: "a stack of three old books"
- Repair a missing patch: "the same wooden floorboards"
- Change a season: "autumn leaves in orange and red"
- Swap food on a plate: "a slice of lemon cake"
Tips for a natural result
Brush the shape and size you want the new object to have. A tall, narrow mark suits a tall object, and a small mark cannot hold a large one. Leave a small margin around the old object so that its edges do not show.
Make one change per run. For a second change, download the result, upload it again and brush the next area. If you only want something gone, the object remover needs no text at all.