AI photo restoration: repair old and damaged photos
Fix scratches, creases, tears, stains and fading in old prints and bring back sharp detail. Turn on Colorize to get a color version in the same run.
- Free daily credits
- Nothing to install
Old photos restored
Drag the divider to see the before and after.

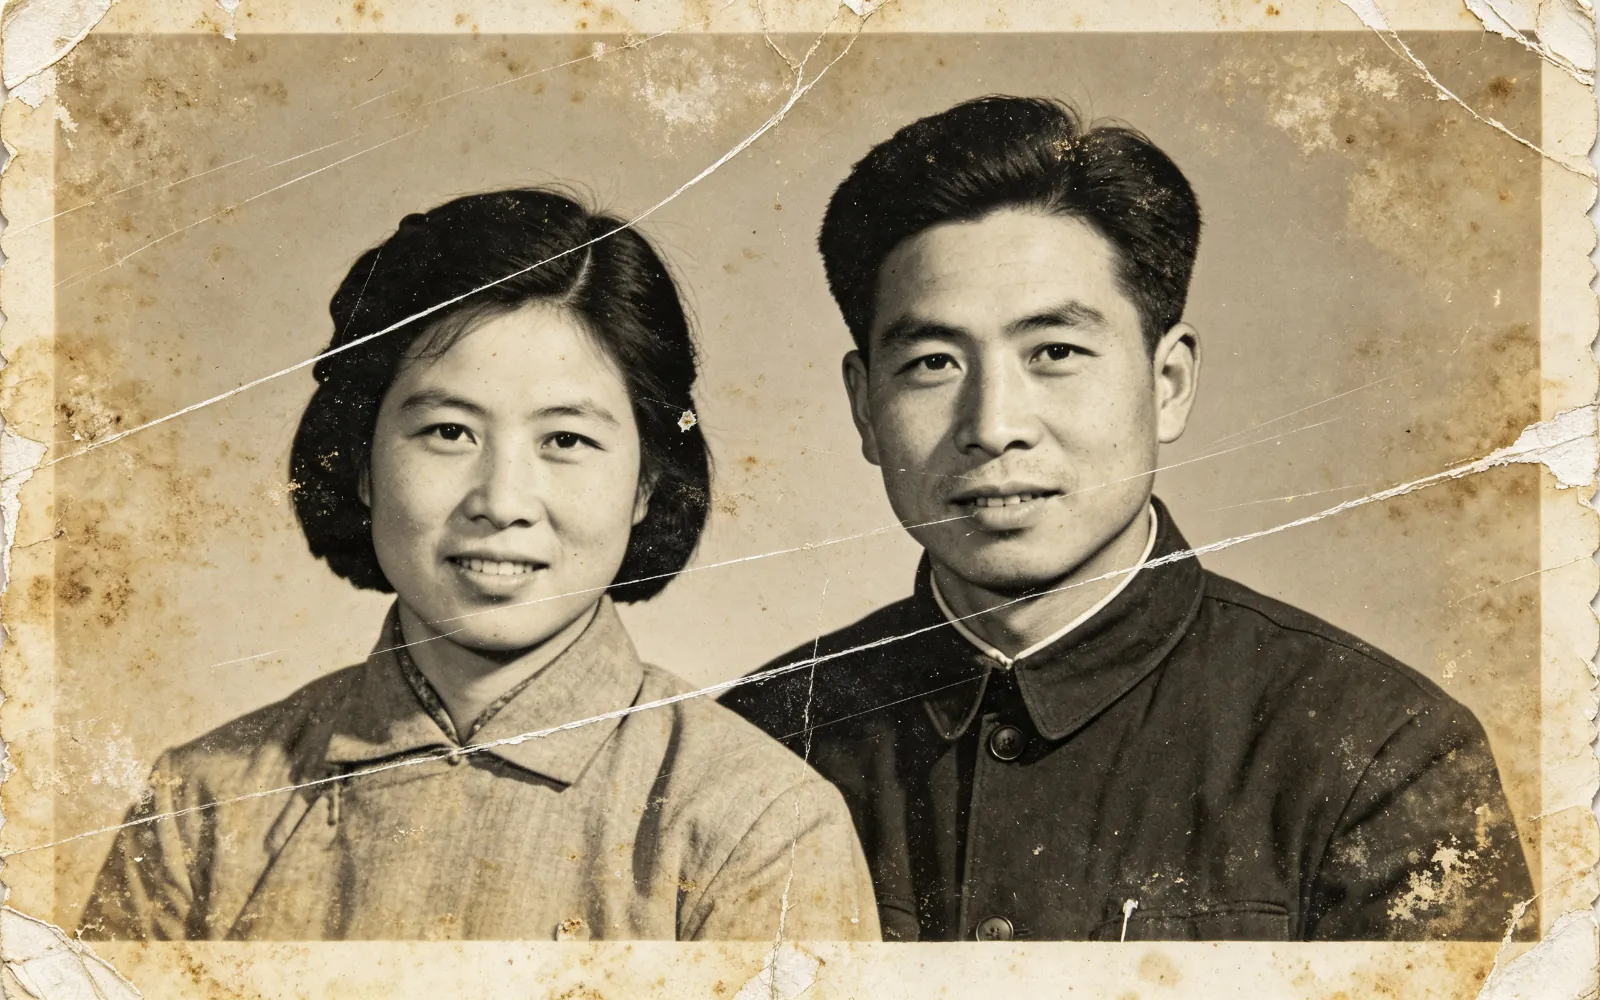
Repair a creased, yellowed portrait
A creased, yellowed 1950s portrait, de-scratched and recolored
Try this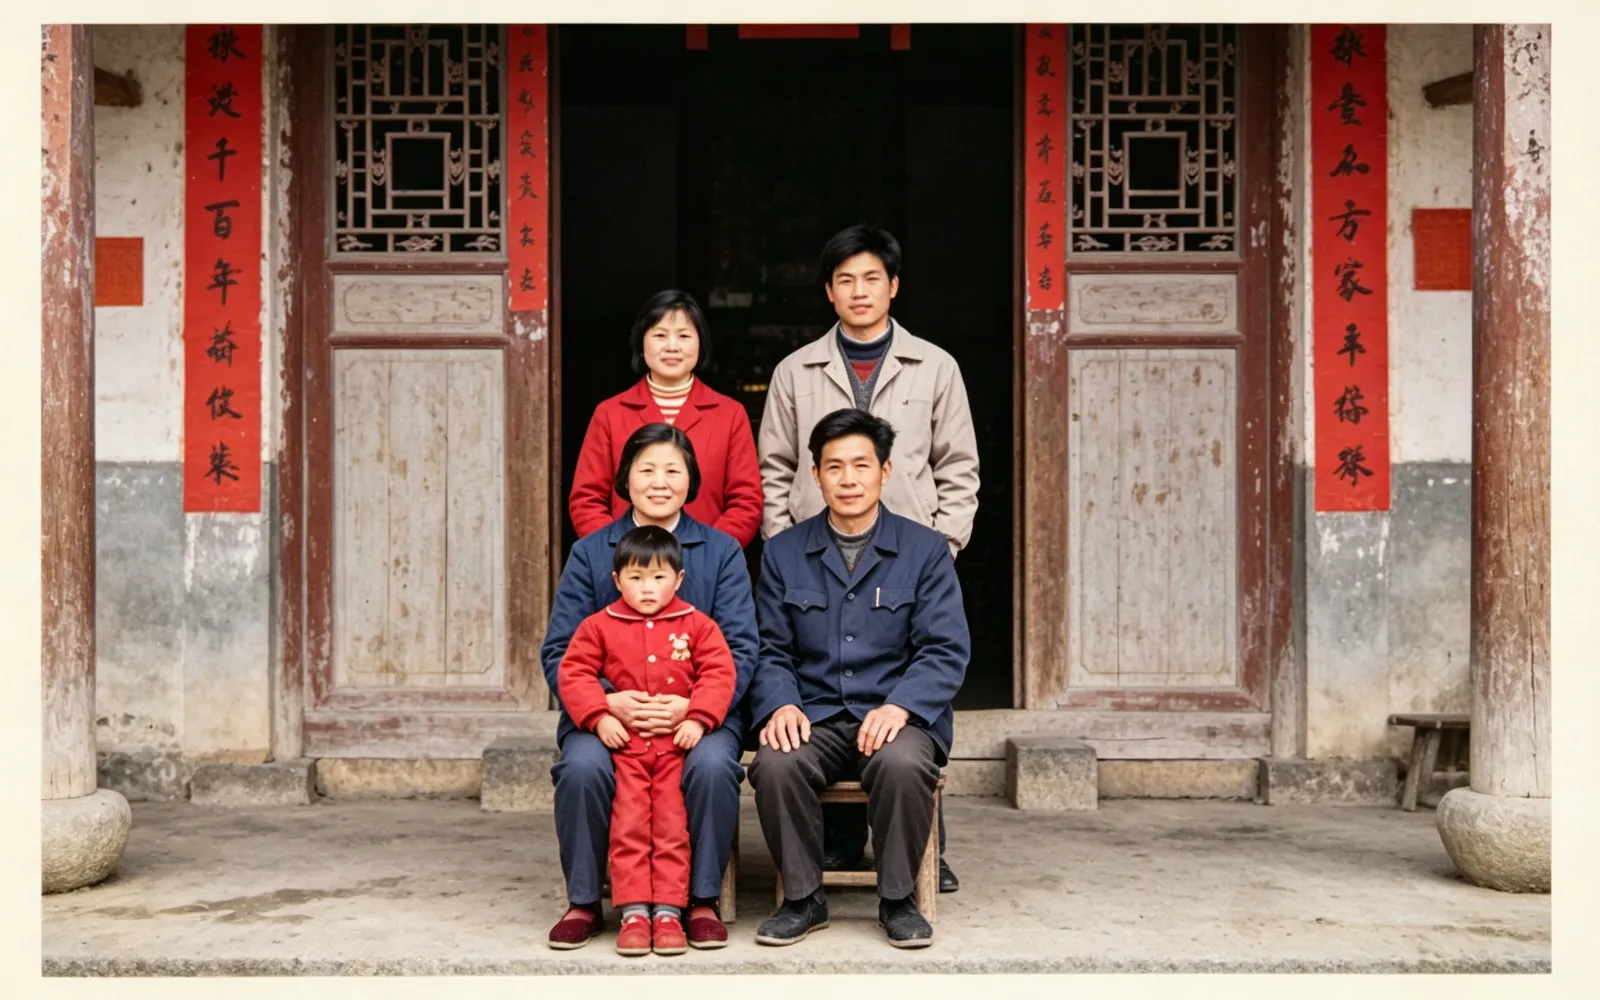
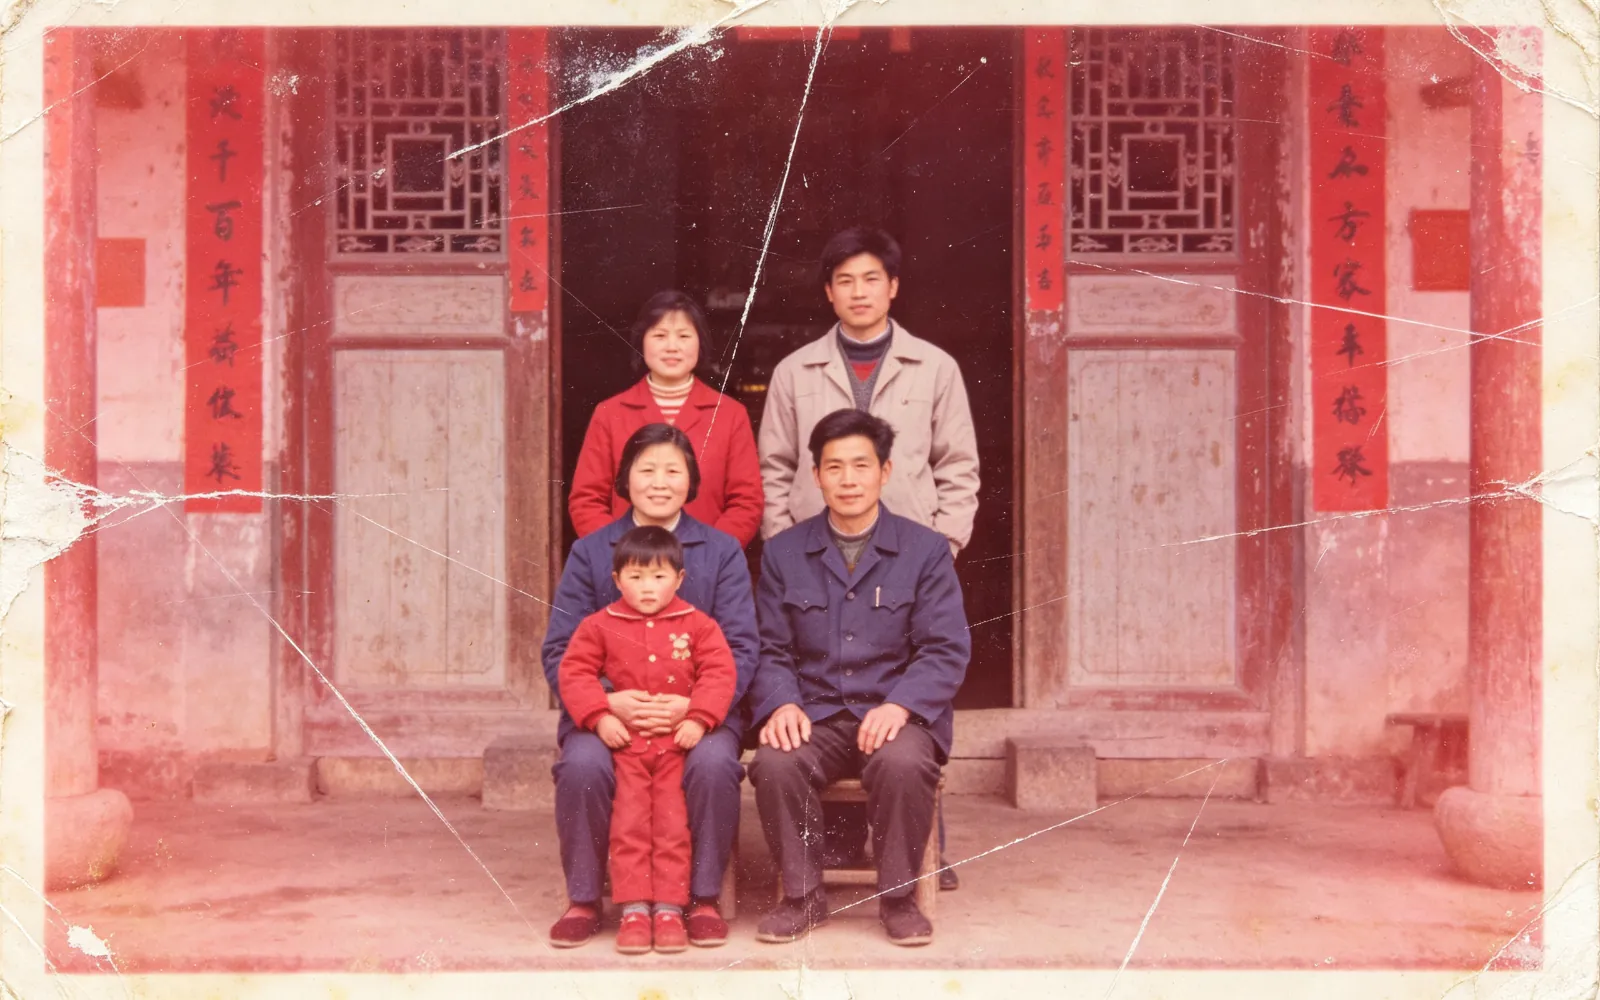
Correct a faded, color-shifted family photo
A heavily red-shifted 1980s family photo, color-corrected and repaired
Try this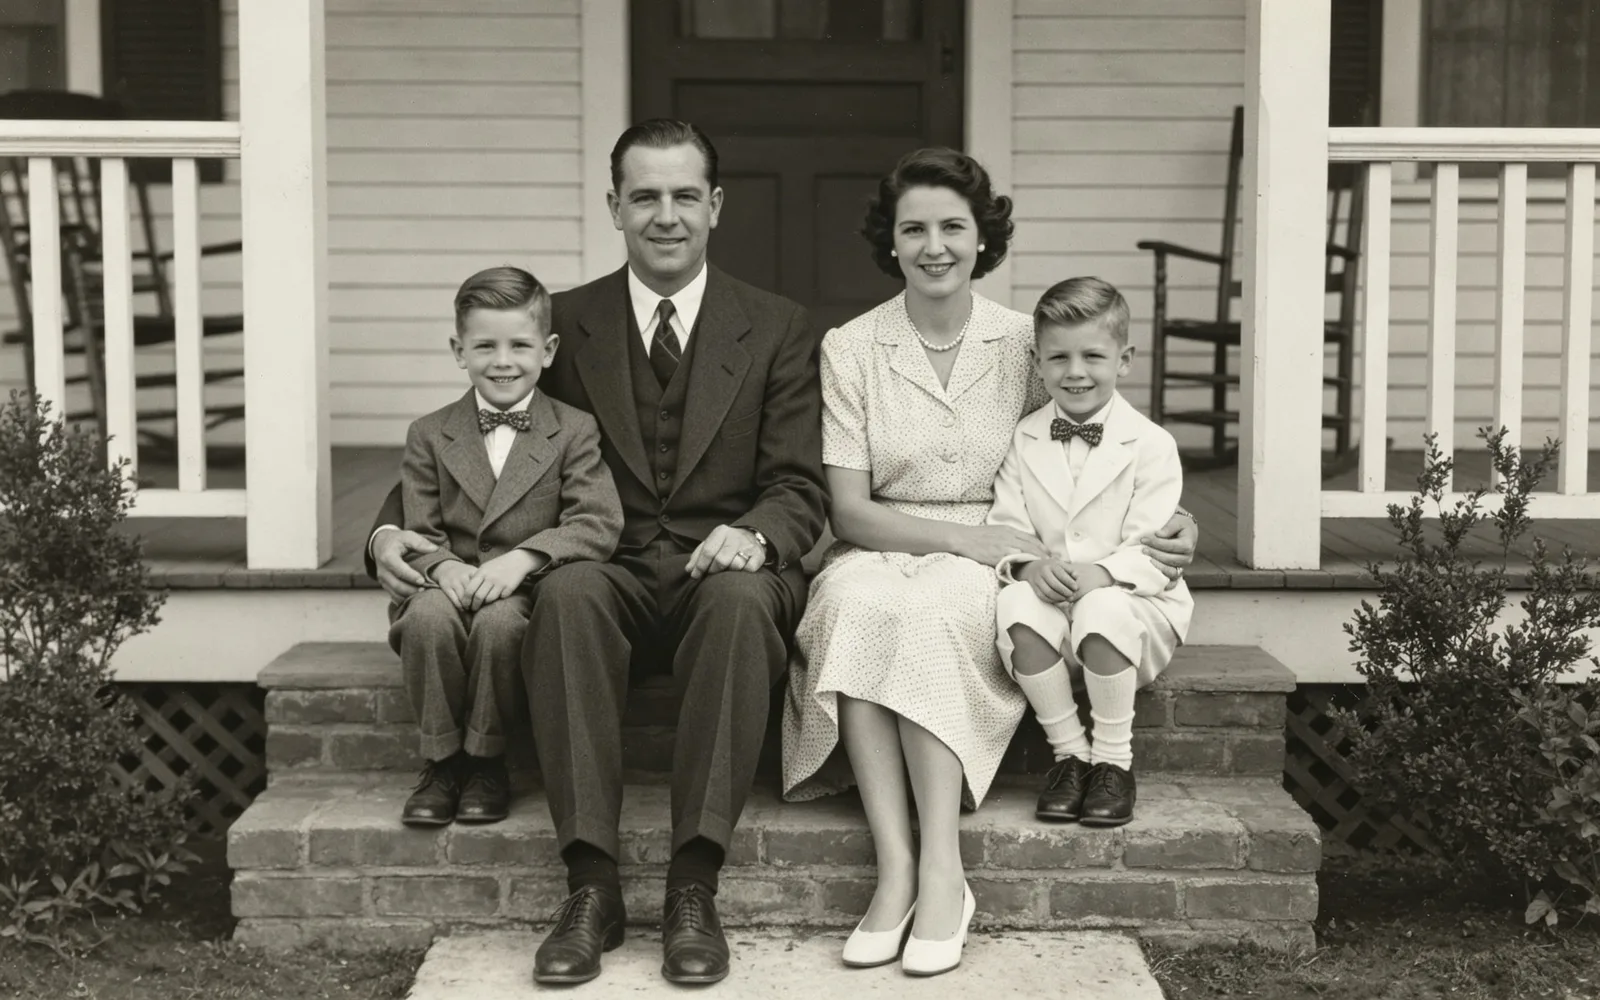
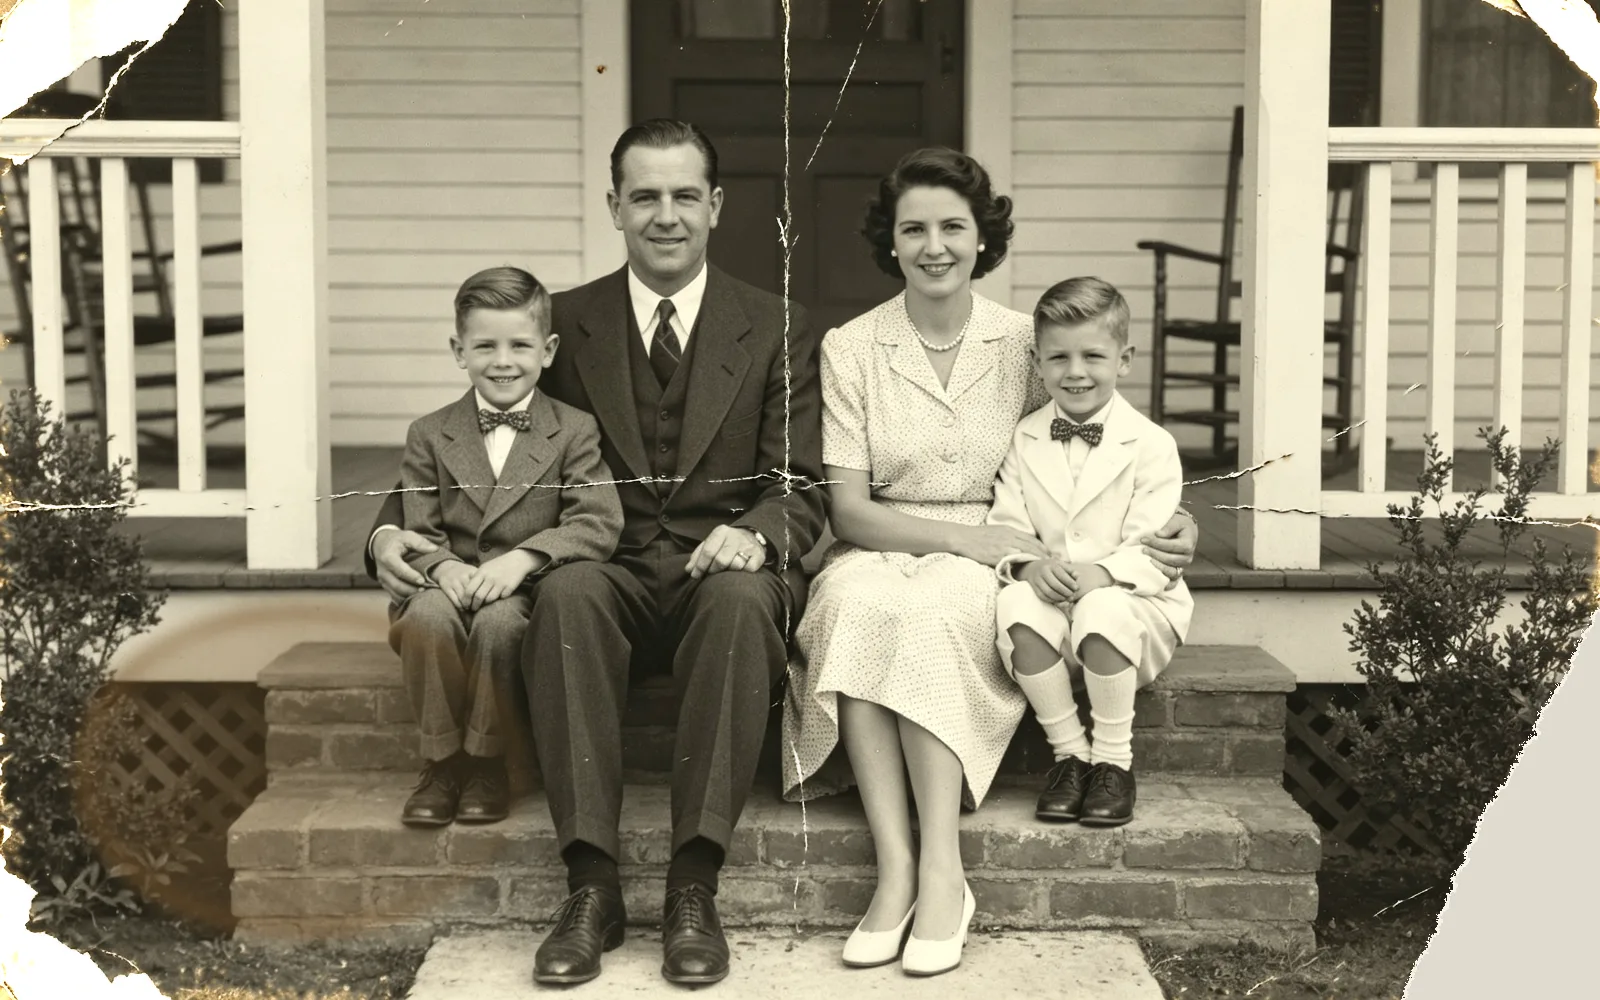
Repair a torn and creased photo
A torn, creased black-and-white family photo repaired
Try this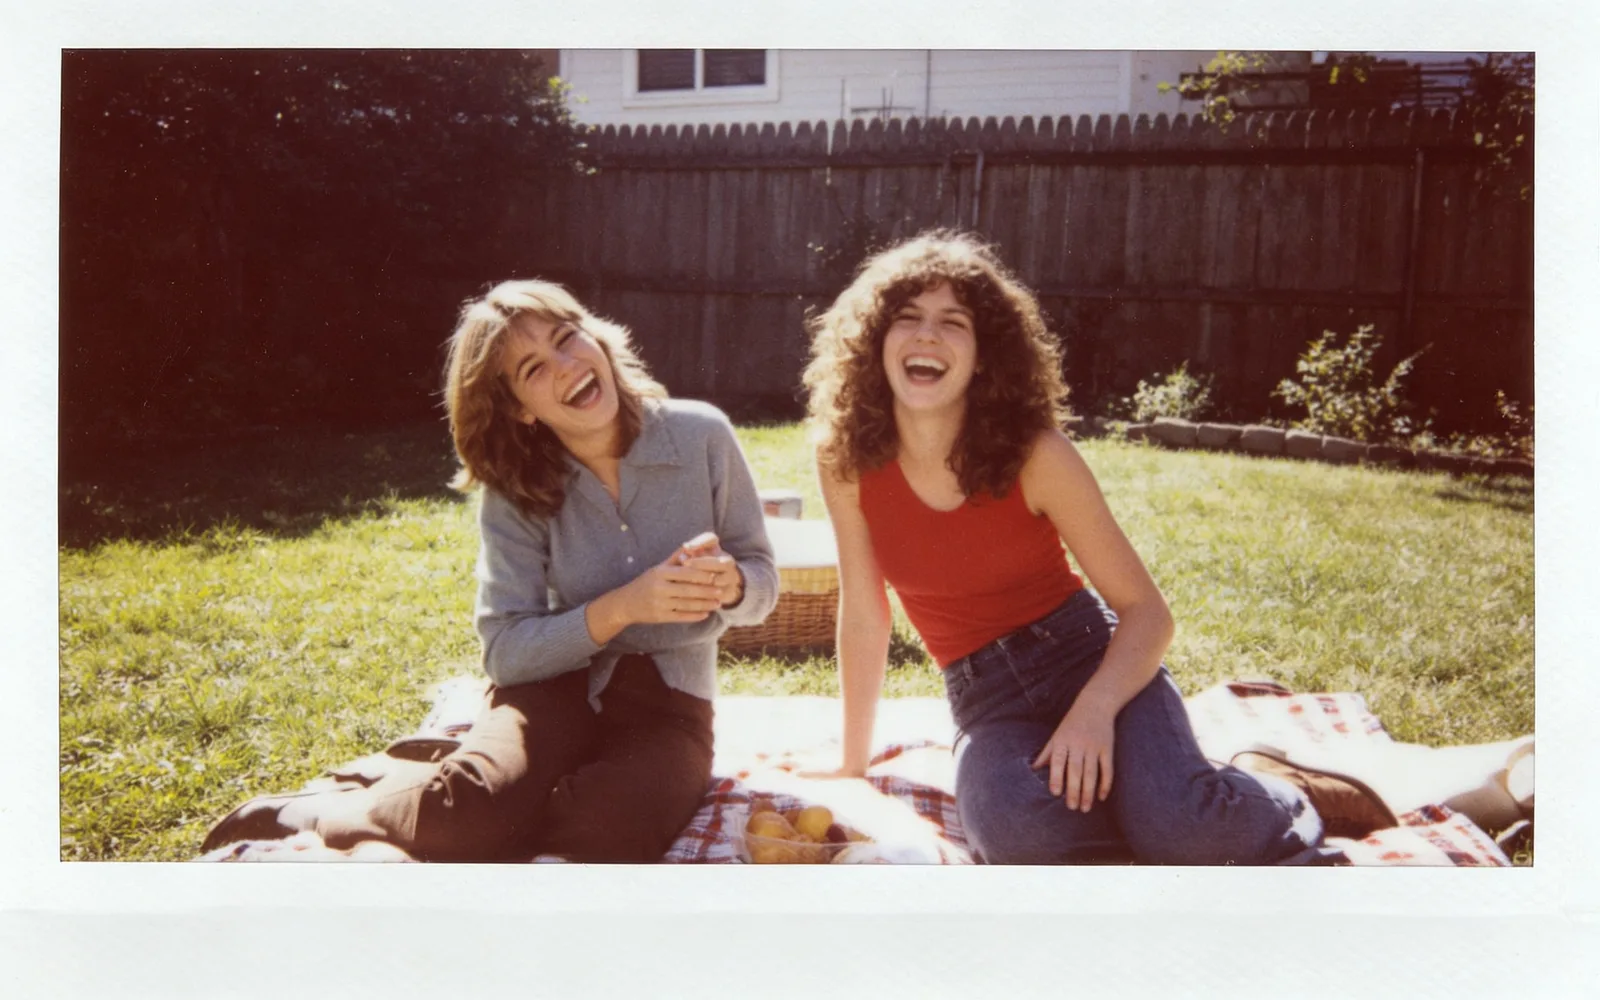
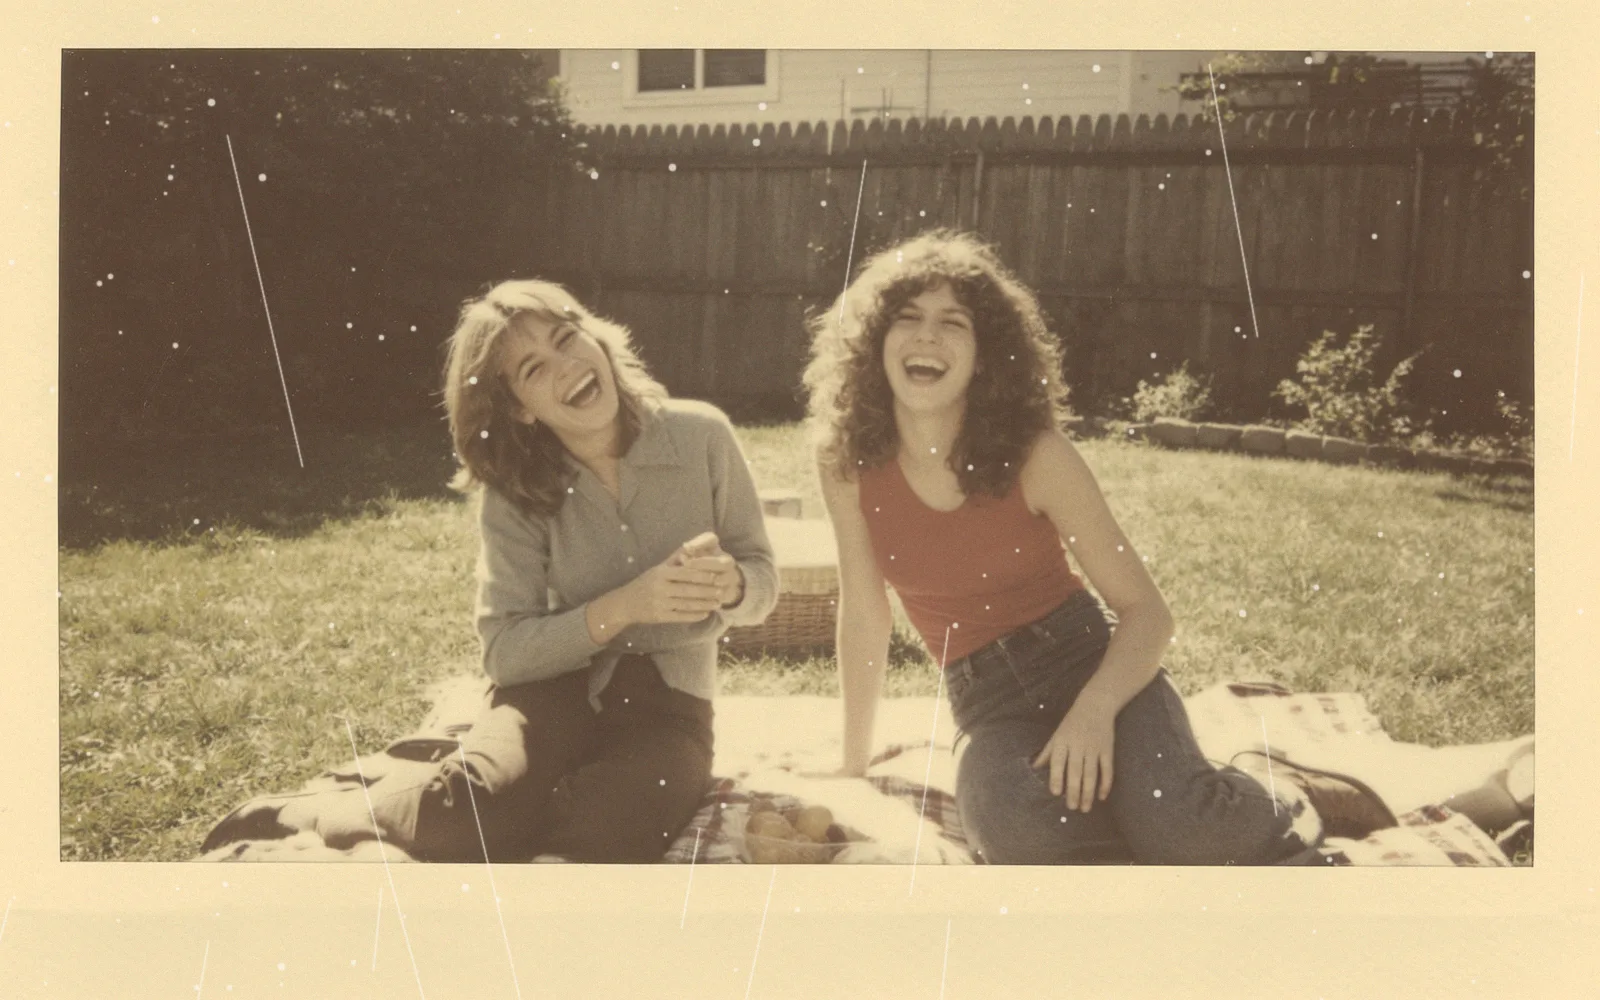
Restore a faded Polaroid
A washed-out 1970s instant photo with its colors brought back
Try thisHow to restore old photos
- 1
Scan or photograph the print
Use a flatbed scanner if you have one. With a phone, lay the print flat in even daylight, turn off the flash and hold the phone straight above it.
- 2
Upload one photo or several
Choose an image or drop it onto the page. If you have up to four damaged photos of the same person, click Add another to include them in the same run.
- 3
Choose color or black and white
Turn on Colorize to get a color result. Leave it off to repair the photo and keep it black and white.
- 4
Process and download
Click Process, drag the divider to compare the result with your photo, and download the restored image.
Getting a good scan
The restoration can only work with what the scan shows, so a clean, sharp copy of the print matters more than any setting.
- Scan at 600 dpi. A 4 × 6 inch print then comes out at 2,400 × 3,600 pixels, which keeps the detail without making the file too large.
- Save the scan as JPG. The upload limit is 5 MB, and an uncompressed TIFF of the same scan is usually larger than that.
- Wipe dust off the print and the scanner glass with a soft, dry cloth before you start.
- Crop away the scanner bed around the print so that only the photo is left.
What restoration can bring back
Scratches, creases, dust, stains, film grain and faded contrast are routine repairs. The model redraws those areas from the intact parts around them and sharpens faces and edges that have gone soft.
Where a large part of the photo is missing, such as a torn corner across a face, the model has to invent that area. Check those parts against other photos of the person before you print the result.
Several damaged photos of the same person
You can upload up to four photos of the same person, for example two prints of one portrait that are damaged in different places. The model uses the intact parts of each one to build a single, complete restored photo.
This is not batch restoration. All photos in a run are merged into one result, so photos of different people or different scenes need separate runs.
Restoration is not retouching
Restoration repairs damage. It keeps the framing of the photo and the facial features of the people in it. It does not smooth skin, change expressions or replace the background.
To remove something from the restored photo, such as a stamp or a stain on the border, download it and use the object remover. To bring it to life, the photo animator can turn it into a short clip.