AI image upscaler: enlarge photos to 4K or 8K
Enlarge photos to 4K or 8K while the AI image upscaler rebuilds the edges, texture and fine detail a low-resolution file never had.
- Free daily credits
- Nothing to install
Low-resolution images upscaled
Drag the divider to see the before and after.
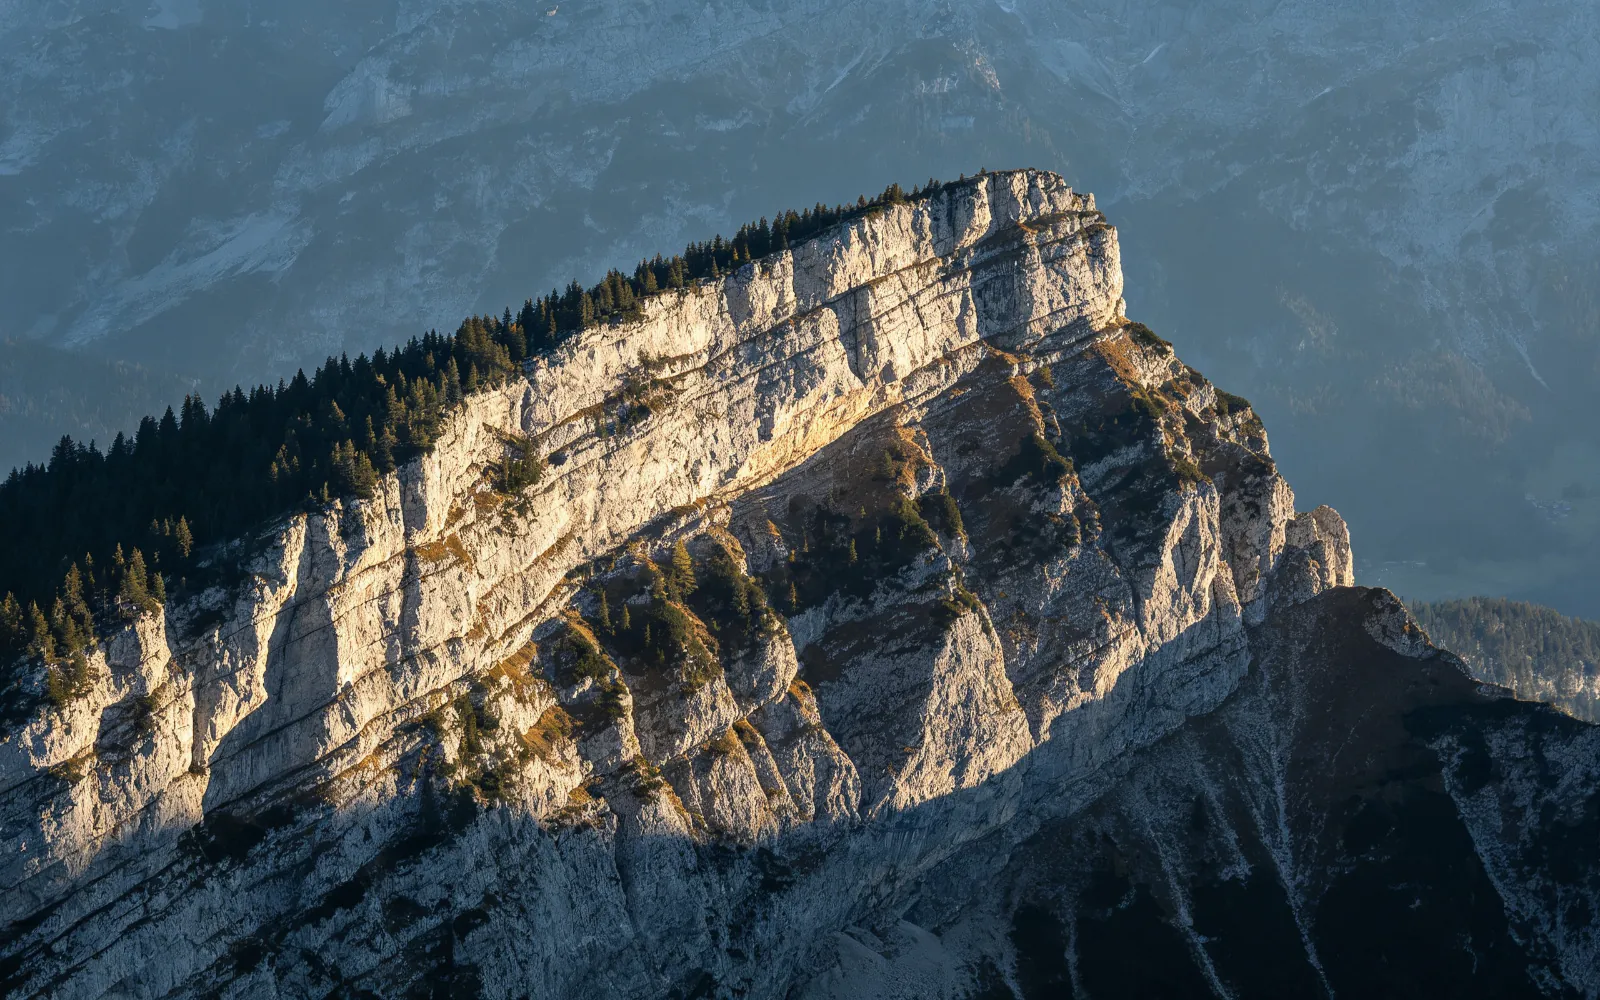
Upscale a soft landscape photo
A soft, low-resolution ridge line resolved into rock and treeline detail
Try this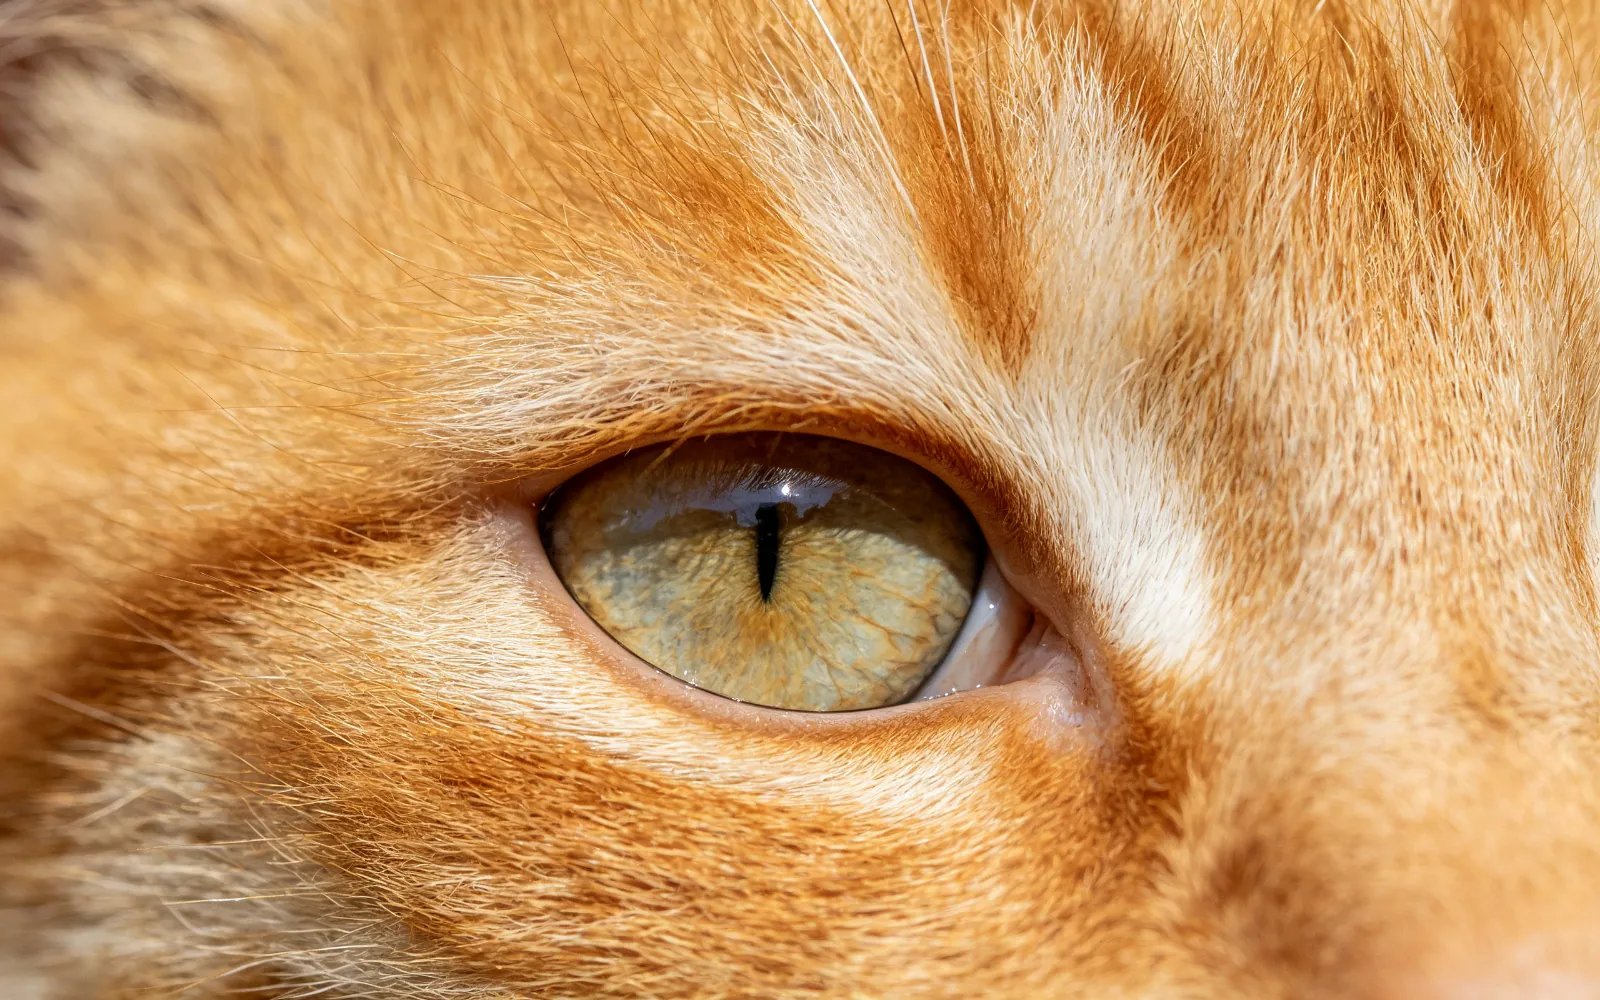
Bring back fur detail in a pet photo
Blurred fur resolved into individual hairs and iris texture
Try this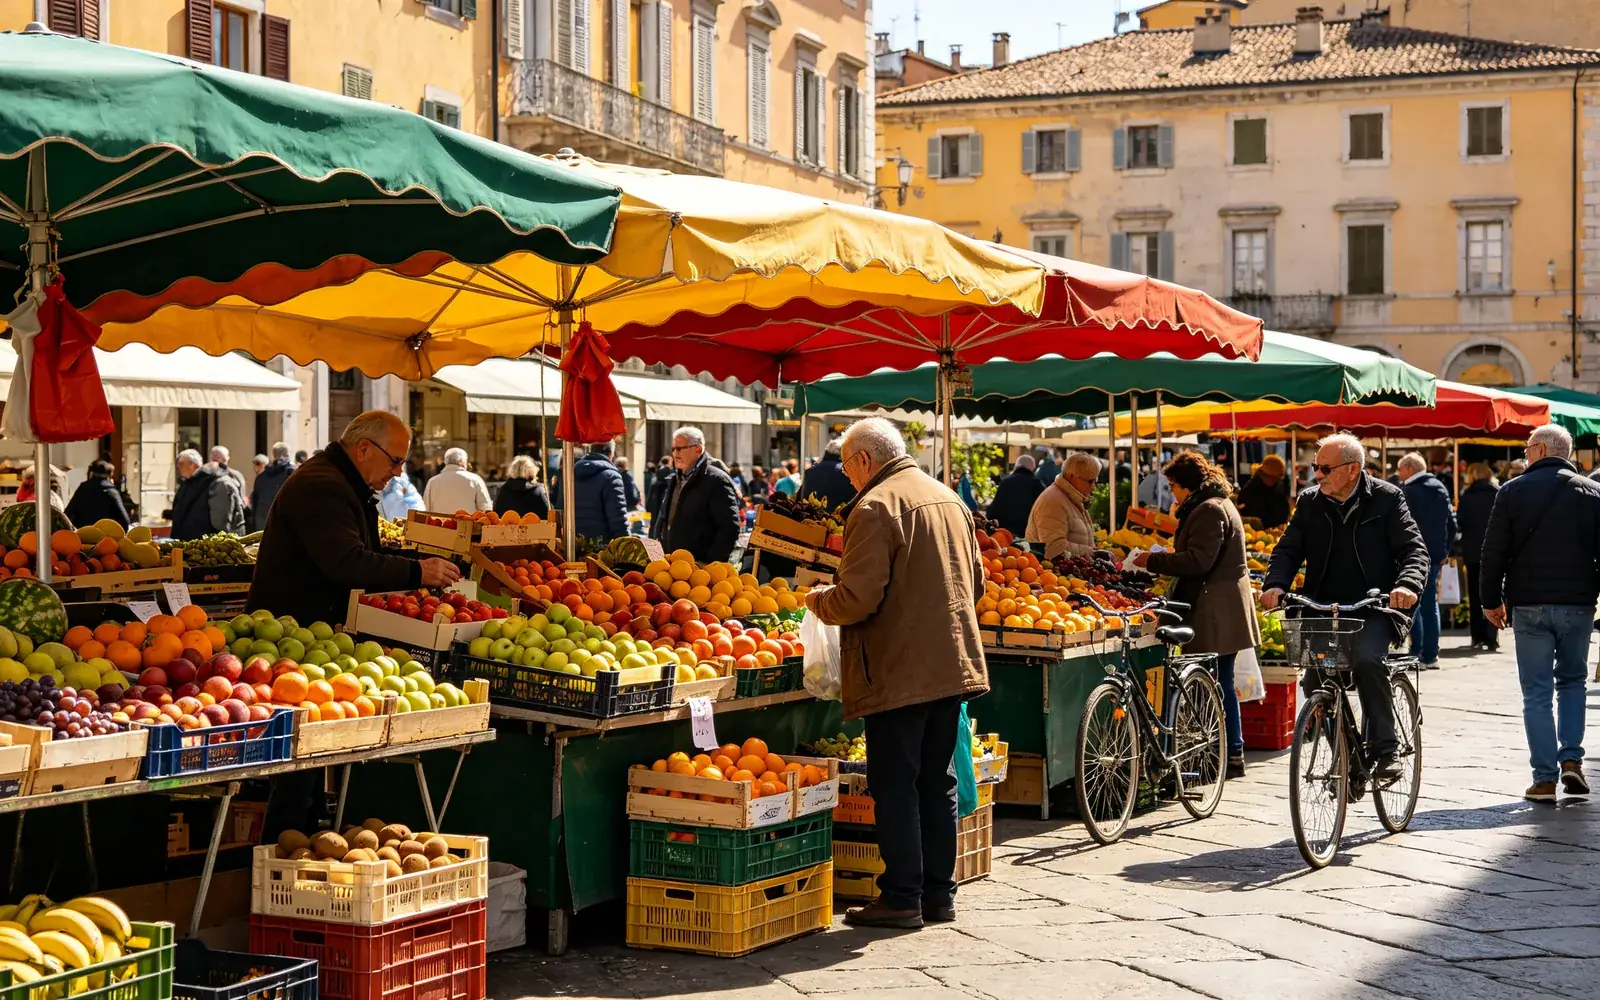
Upscale an old low-resolution phone photo
A small, compressed street snapshot enlarged with sharp detail
Try this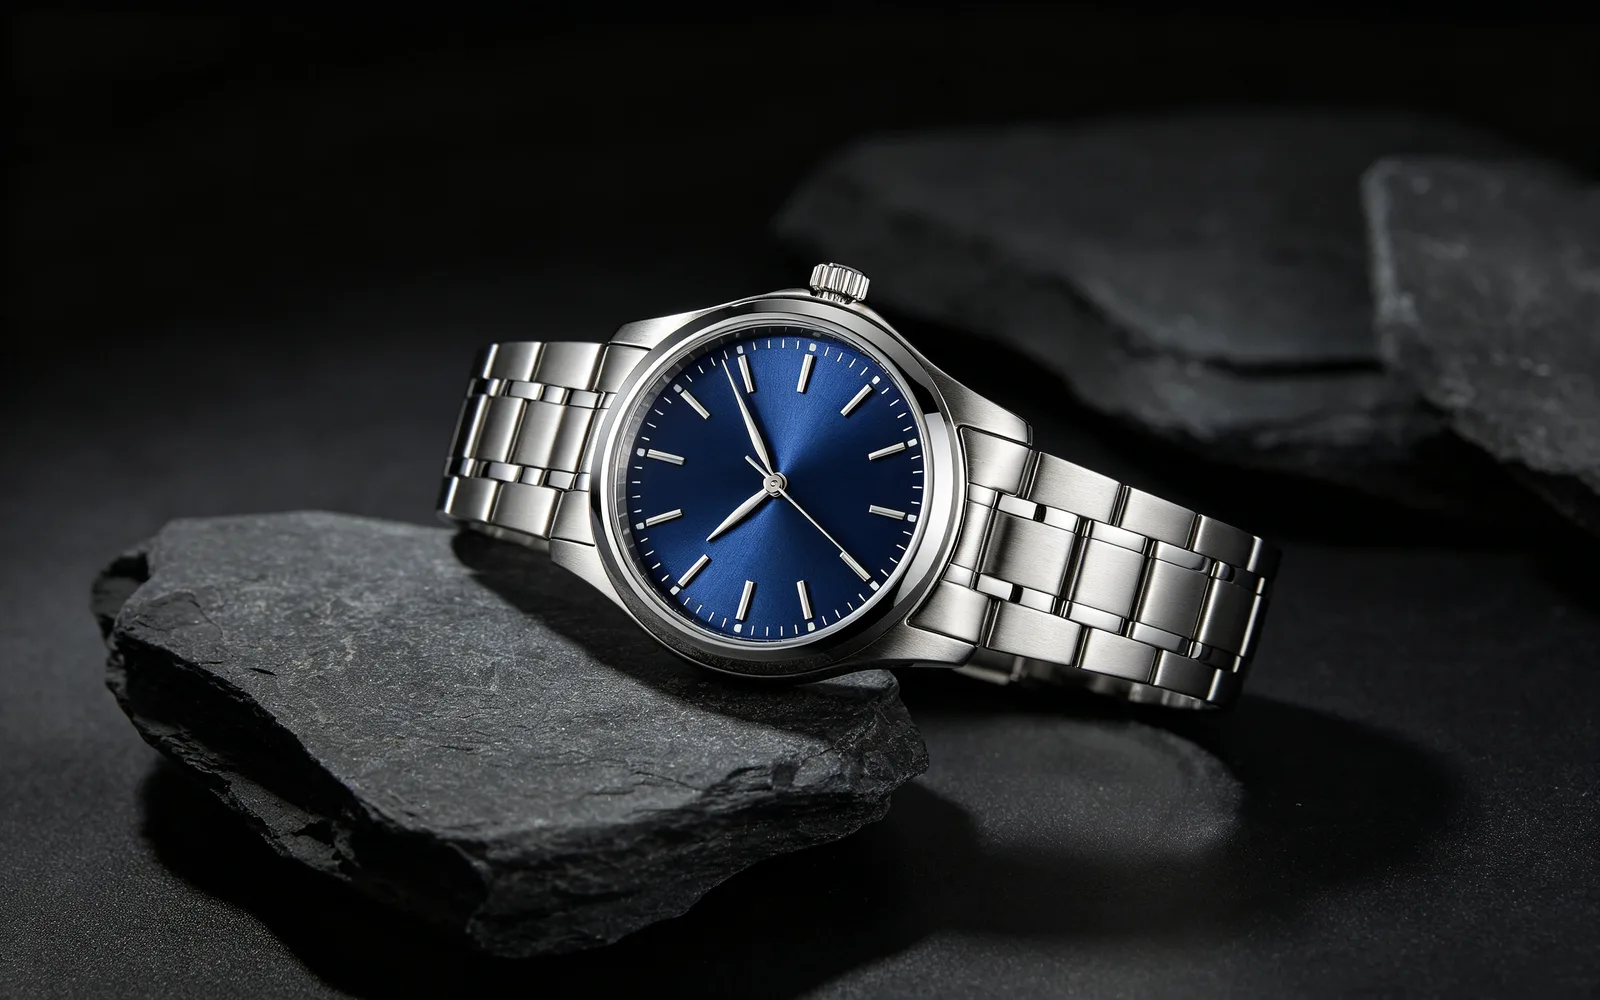
Upscale a product photo for print
A small watch photo enlarged for a printed catalog
Try thisHow to upscale an image to 4K or 8K
- 1
Upload the photo
Choose an image or drop it onto the page, up to 5 MB. The shape must be between 1:3 and 3:1, so very long panoramas are not accepted.
- 2
Pick 4K or 8K
Choose the target size. An option with a lock icon needs a higher plan.
- 3
Set the detail strength
The slider runs from 0 to 100 and starts at 50. Lower values stay closer to the original; higher values draw more new fine texture.
- 4
Process and compare
Click Process, drag the divider to compare the before and after, and download the larger image.
Which photos gain the most from upscaling
An upscaler helps most when a photo is small or has lost detail to compression. Good candidates include:
- Old phone photos taken at a low resolution.
- Images saved from chat apps and social media, which are usually compressed.
- Screenshots and still frames taken from a video.
- Product photos and AI-generated images that need a larger file for print or a web banner.
Unblur an image: what to expect
Blur from a small or compressed file improves the most: edges become sharper, and texture such as hair, fabric, leaves and stone comes back. The model redraws these details at the new size. It does not recover the original pixels, because they were never in the file.
Motion blur and missed focus are different. The shapes in the photo are already smeared, so the result is cleaner but rarely fully sharp.
Choosing the detail strength
Detail strength decides how much new texture the model may add. The content and framing of the photo stay the same at every setting.
For portraits, logos and fine lines that should stay as they are, start below the default of 50. For landscapes, fur, plants and fabric, a higher value gives richer texture. If a result looks over-sharpened, click Run again and lower the value.
Upscaling for print
Print size depends on the pixel size of the file. At 300 pixels per inch, a common setting for photo prints, 3,000 pixels make 10 inches (25.4 cm). An image 4,000 pixels wide prints about 13 inches (34 cm) wide, and one 8,000 pixels wide about 27 inches (68 cm). Posters seen from a distance can use 150 pixels per inch, which doubles those sizes.
Photos that are already larger than 4,096 pixels on the long side cannot be upscaled, and the editor tells you so when you add one.